Why Survival Skills and Emergency Shelter Building for Beginners Save Lives
Learning survival skills: emergency shelter building for beginners is the best way to stay alive because your body can only last three hours in harsh weather without cover.
Why Survival Skills and Emergency Shelter Building for Beginners Save Lives
Learning survival skills: emergency shelter building for beginners is the best way to stay alive because your body can only last three hours in harsh weather without cover.
Staying safe is more about your mindset and basic knowledge than owning a trunk full of expensive gadgets. You don't need a massive pack to stay cozy if you understand the Rule of Threes and the 5 Cs of survival gear.
We will walk through how to build a debris hut, purify water, and start a fire even when it's raining so you can feel confident on your next adventure.
When you are lost in the woods, your brain might scream at you to find food or water first. But survival is not about your stomach; it is about your core temperature. Most experts agree that you can only last three hours without shelter in extreme conditions, while you have three days without water and three weeks without food. This essential survival skills framework helps you focus on what will actually kill you first.
Staying calm is your best tool because panic leads to bad choices. According to 333sf.org, the Rule of Threes is the gold standard for prioritizing your actions. Before you start hunting for a snack, you need to ensure you have cover and a way to stay dry. This is where the 5 Cs of gear - like cover and combustion - become more important than a fancy GPS or heavy camping gadgets.
Imagine you are hiking a mountain trail when a sudden storm rolls in, dropping the temperature by twenty degrees in minutes. You are wet, shivering, and starting to feel hungry. If you spend an hour looking for berries, you might slip into hypothermia before you find a single one. In this moment, the smart move is to stop and build a quick debris hut or use an emergency blanket to trap your body heat immediately.
Understanding these priorities keeps you from wasting precious energy on tasks that do not matter yet. We cover more on why this beginner wilderness survival guide makes survival skills simple by focusing on these core needs. When you know what to do first, the forest feels a lot less intimidating.
Key insights:
Memorize the 3-3-3 rule: 3 hours for shelter, 3 days for water, and 3 weeks for food.
Practice the S.T.O.P. acronym (Sit, Think, Observe, Plan) to move from fear into survival mode.
Focus on the 5 Cs of gear: Cutting, Combustion, Cordage, Cover, and Containers.
Keep your shelter small because a smaller interior volume traps your body heat more effectively.
Look for dry heartwood inside damp logs to start a fire if it is raining.
Emergency Shelter Building for Beginners: Staying Warm and Dry
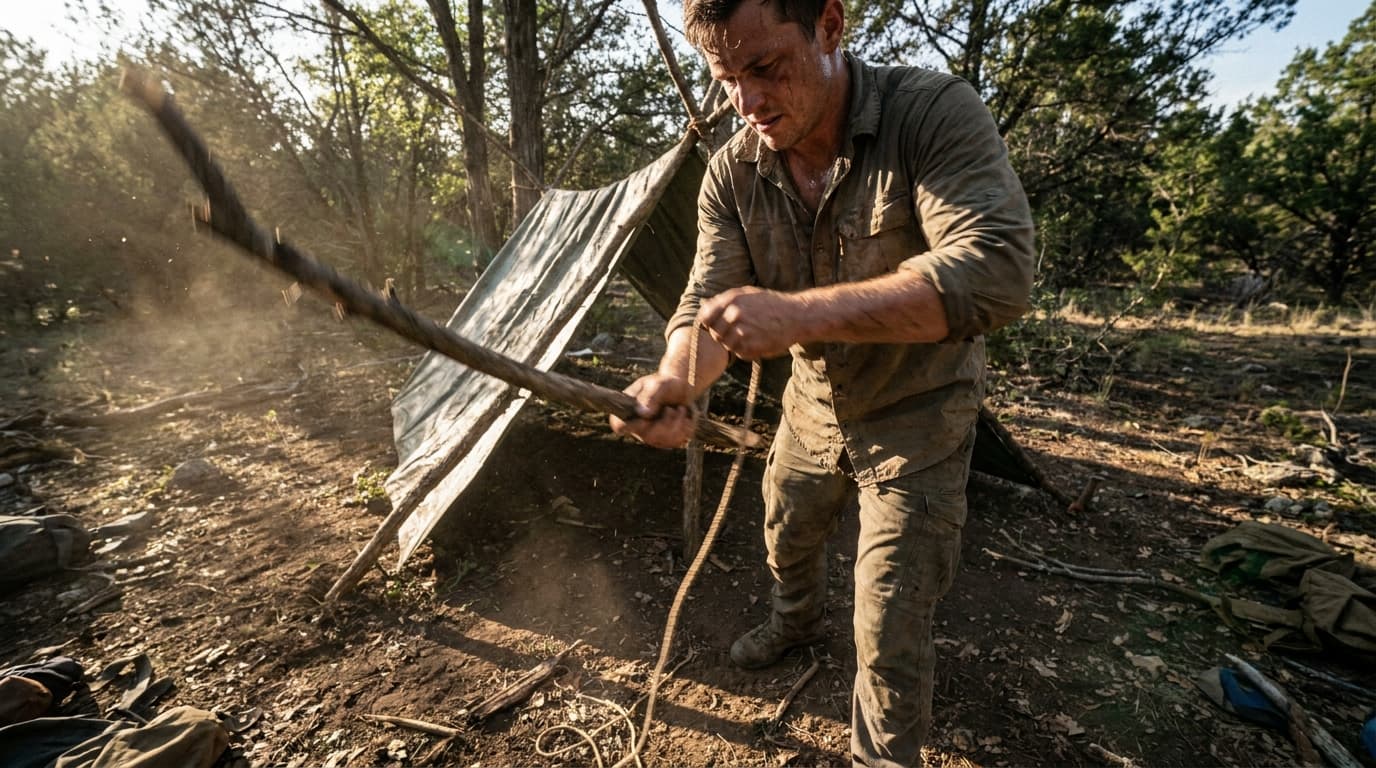
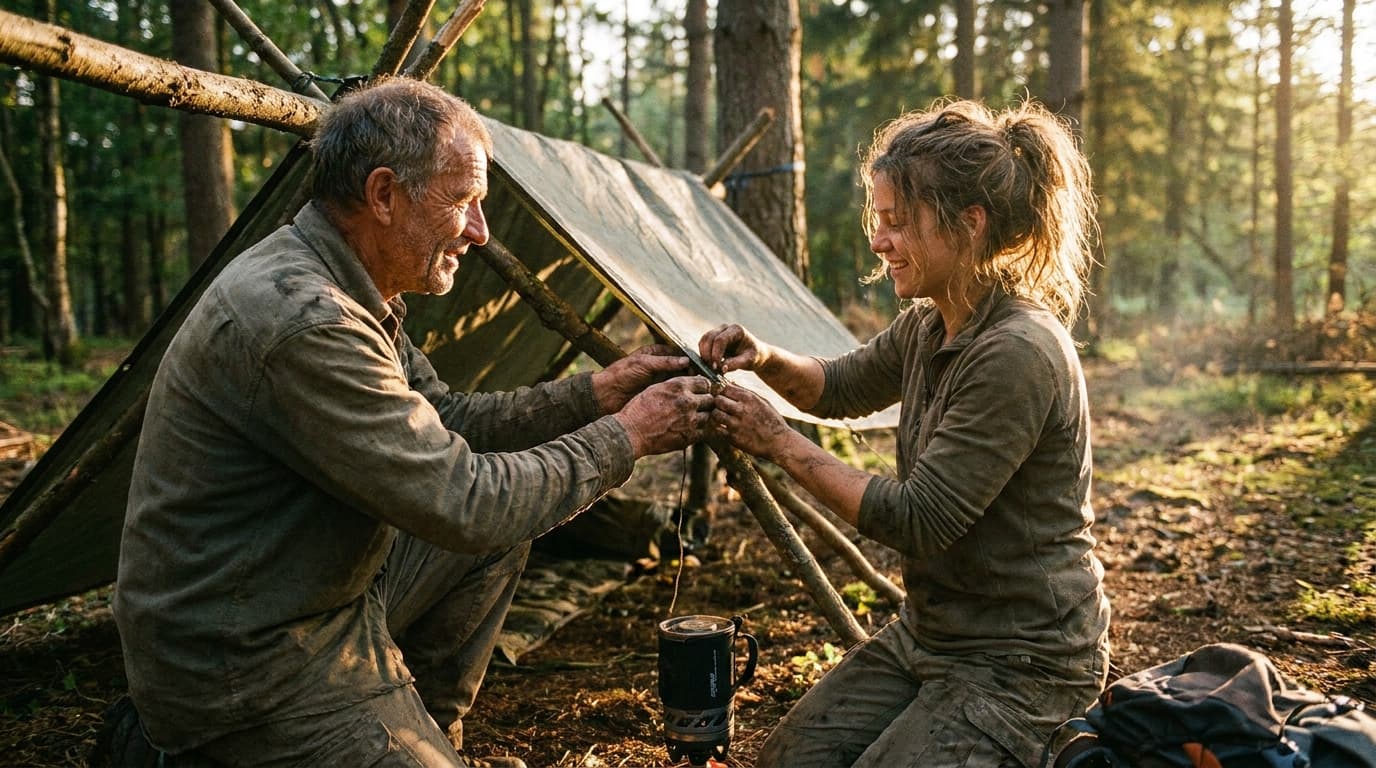
If you are stuck outdoors, your first job isn't finding dinner. It is protecting your core temperature. The "Rule of Threes" is a grim but helpful reminder: you can only survive about three hours without shelter in extreme conditions. Building a simple structure is about creating a tiny room that traps your body heat before the wind or rain can steal it away. This falls under "Cover," one of the 5 Cs of survival gear you should always have in mind.
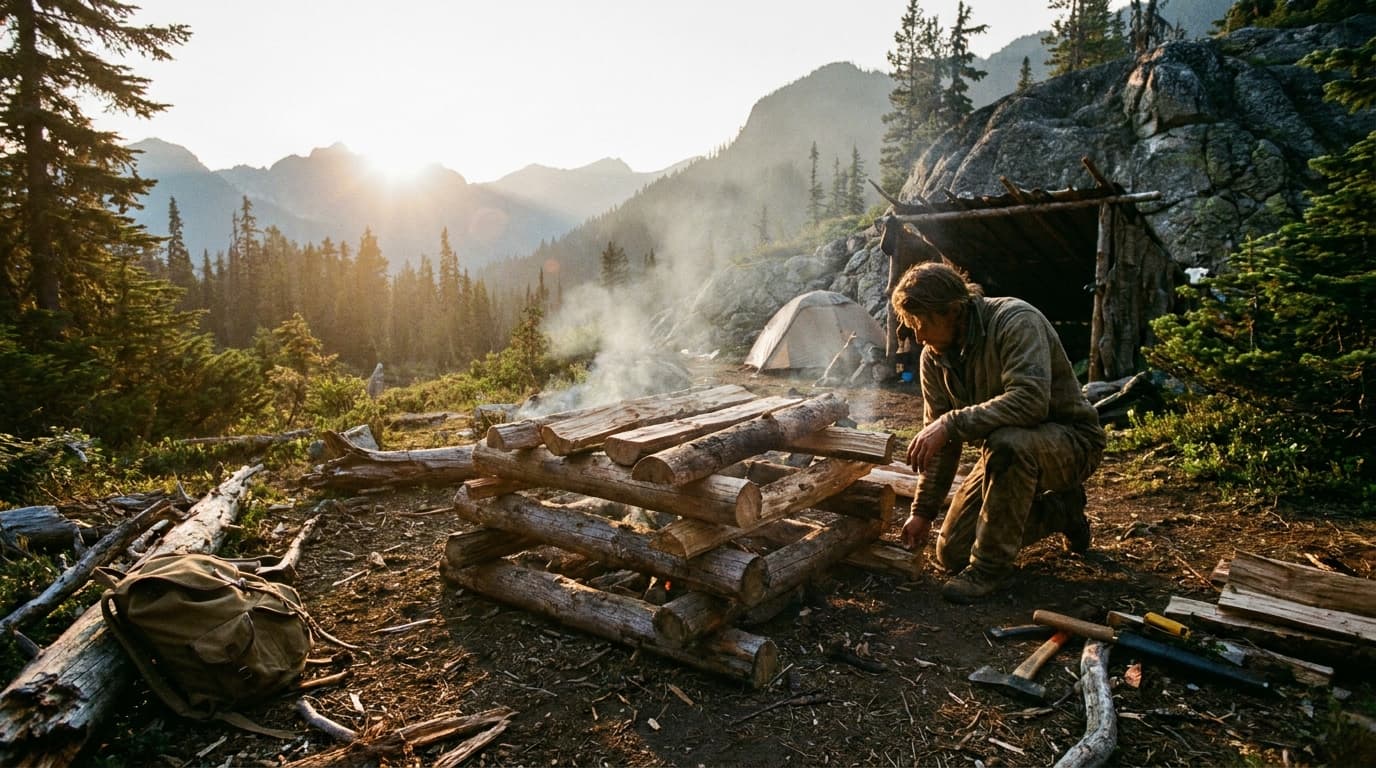
Imagine you are deep in the woods when a sudden storm hits. You find a large fallen log that is slightly propped up. You quickly lean sturdy branches against the log to create a "ribcage" frame. By covering this frame with a massive pile of forest debris, you create a debris hut. It might look like a pile of yard waste from the outside, but it acts as a natural cocoon that keeps you dry and insulated when you have no other options.
This is where the art of natural insulation comes in. Many beginners make the mistake of building a shelter that is too big. A huge space is impossible to heat with just your body. You want your "nest" to be just large enough for you to crawl into. Inside, dry leaves, pine needles, and even grasses are your best defense against the cold. This is a core lesson in any beginner wilderness survival training guide because it relies on what the forest provides.
Think about the difference between a thin tarp and a thick winter coat. A tarp stops the wind, but it doesn't provide warmth. For effective heat retention, you need at least two feet of loose material on all sides of your shelter. This thick wall of debris traps air pockets, which is exactly how modern insulation works. Without that thickness, the cold will seep through within minutes, leaving you shivering despite your hard work.
Also, never sleep directly on the bare earth. The ground is a heat sink that will drain your warmth faster than the air will. Always build a "bed" of dry leaves or pine needles at least six to ten inches thick before you lie down. This layer is a critical part of essential survival skills because it breaks the contact between your body and the freezing soil. It is the difference between a restless, freezing night and actually getting the rest you need to survive.
If you can stay dry and keep your heart rate steady, you have already won half the battle. Use the S.T.O.P. method to keep from panicking and rushing the build. A well-made debris hut takes time, but it is much more effective than a rushed lean-to that lets the wind whistle through. Focus on the thickness of your walls and the height of your leaf bed to stay safe.
Key insights:
Keep the interior space small to maximize heat retention and trap your body heat effectively.
Stack at least two feet of leaves or debris on the roof and walls to create a natural puffy jacket effect.
Create a thick floor of dry material at least six inches deep to block the cold ground from draining your warmth.
Use a fallen log as a ridgepole to save time and energy while providing a sturdy backbone for your shelter.
Check for loose hanging branches above your site before you start building to avoid falling hazards.
The Art of Natural Insulation
Natural insulation is all about air. To survive, you must trap a layer of non-moving air around your body to stop heat loss. Dry leaves and pine needles are perfect because they are full of tiny pockets that hold warmth. Since you can only last three hours without shelter in harsh weather, building thick walls is a race against time.
Imagine choosing between a thin sheet and a massive pile of dry leaves. A tarp blocks wind but lacks the loft needed to stay warm. A two-foot-thick wall of forest debris acts like a natural puffy jacket, trapping your body heat far better than any single-layer material could. It is the difference between shivering and sleeping through the night.
Key insights:
Gather only dry leaves or pine needles to maximize effective air pockets.
Stack material at least two feet thick on all sides for real heat retention.
Pack the walls tightly enough to stop the wind from whistling through the gaps.
Essential Water Purification Methods for the Wilderness
You can only survive about three days without water, but drinking raw forest water is a huge risk. Dehydration is a cascading threat because it messes with your head long before it hurts your body. When you lose focus, you make mistakes, which is why keeping your bottle full is a top priority for staying alive.
The best way to stay safe is to treat every drop you find. Boiling is the gold standard because it kills the pathogens that cause illness. If you cannot start a fire, use the sun. This is where a beginner wilderness survival training guide comes in handy, showing how a simple container - one of the essential Five Cs - can save your life.
Imagine you are deep in the woods and your canteen is dry. You find a stream, but you have no filter. You use the SODIS method by filling a clear plastic bottle and setting it on a flat rock in the midday sun. After six hours of direct light, the UV rays have scrubbed the water clean. It takes patience, but it is much better than the alternative.
Even if you worry about bacteria, the danger of dehydration usually outweighs the risk of a stomach bug in a crisis. Aim to drink at least half a liter of water every hour to keep your survival skills sharp. Staying hydrated keeps you calm so you can follow the S.T.O.P. method and plan your next move without becoming disoriented.
Key insights:
Boil water for at least one minute to ensure all pathogens are destroyed effectively.
Place clear plastic bottles in direct sunlight for six hours to use solar disinfection.
Drink half a liter of water every hour to maintain mental clarity and physical strength.
Carry a sturdy container as one of your Five Cs to make water collection possible.
Filter out large debris with a bandana before beginning any purification process.
How to Make Fire in Wet Conditions Without Losing Your Cool
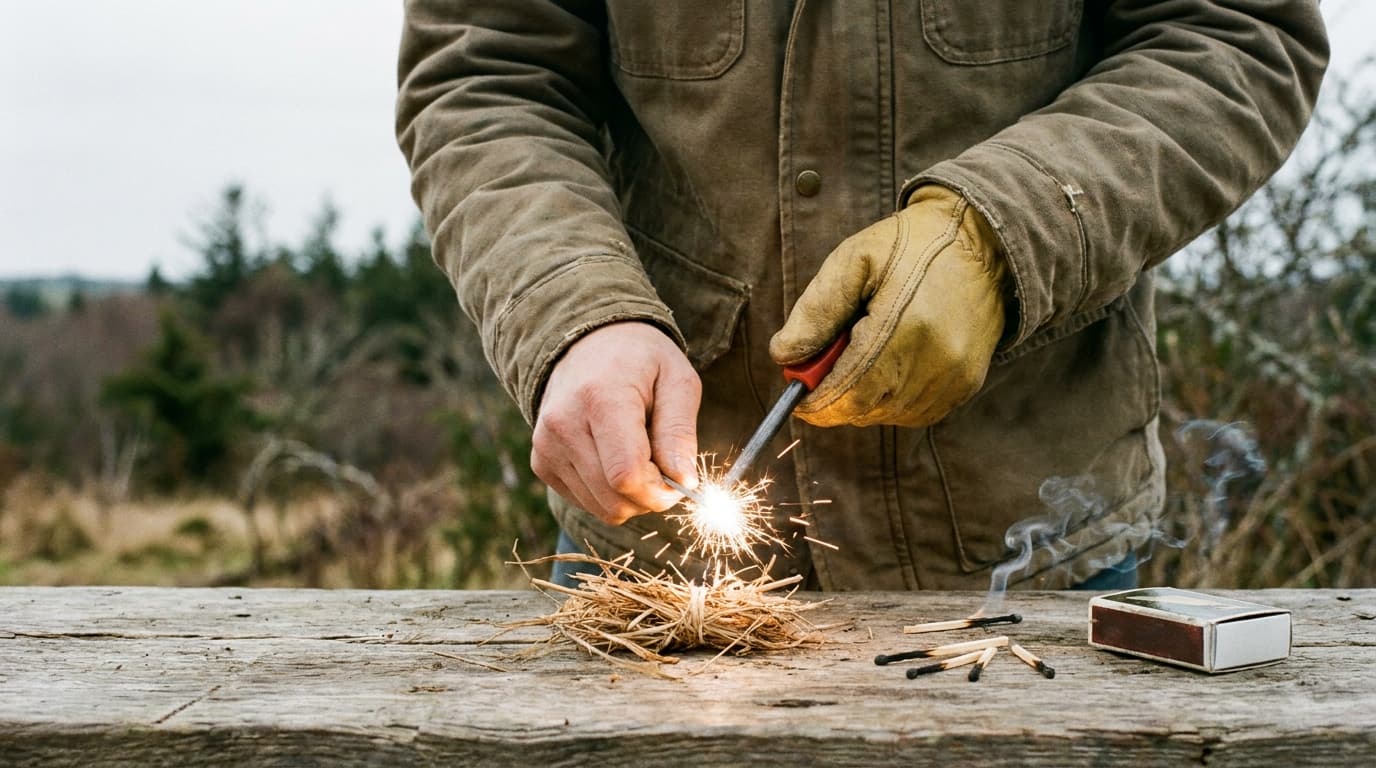
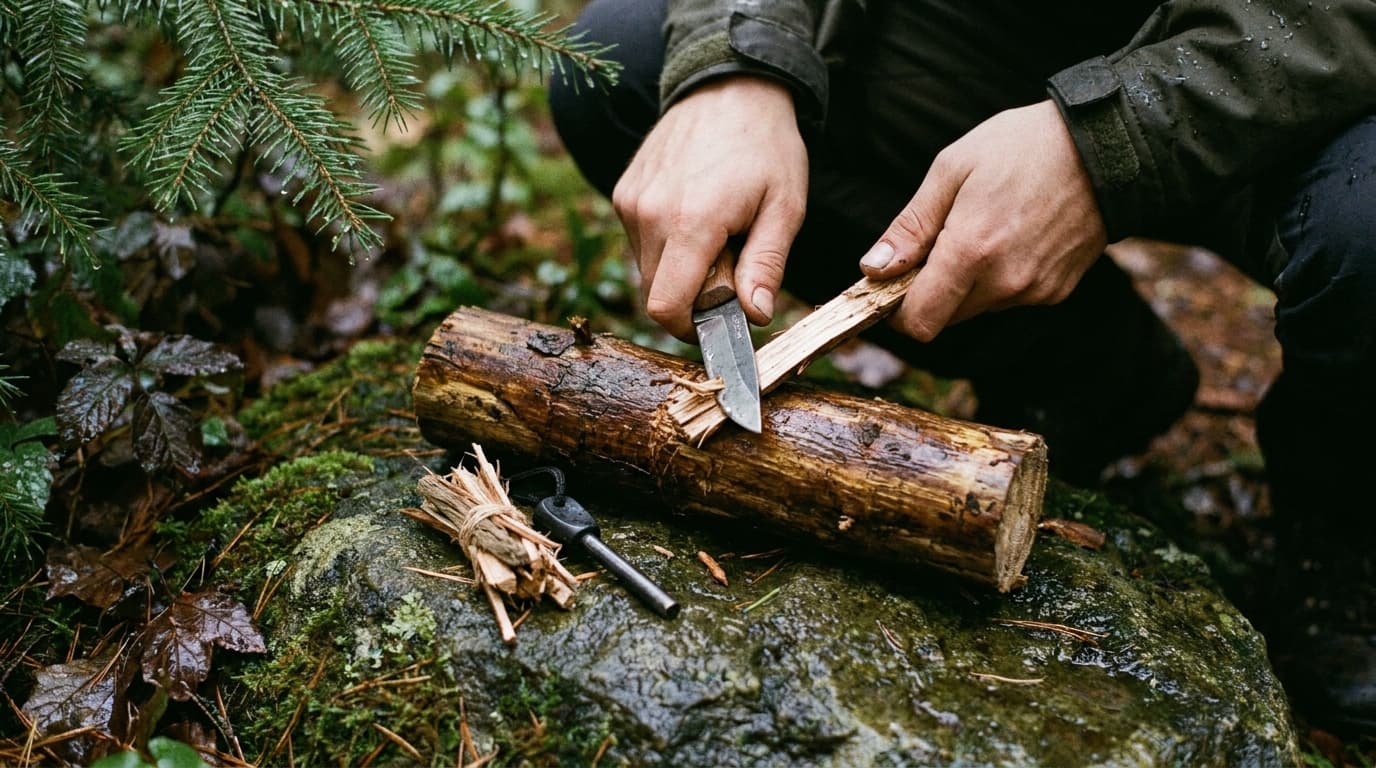
Can you really start a fire when the forest feels like a giant, dripping sponge? You totally can, but you have to look past the soggy bark. While the outside of a log might be soaked, the 'heartwood' inside usually stays bone-dry, providing the perfect tinder for your survival skills to shine. Even if you are usually more of a 'curled up on the sofa' type of person, these tips make you feel like a pro in the woods.
Firecraft is one of the essential Five Cs for a reason - it keeps you warm and keeps your spirits high. A solid survival fire starting kit for beginners is a great backup, but as the Troop 333 Field Notes mention, knowledge is more important than the tools themselves. If you know where to find dry fuel, a little rain won't stop you from staying safe and cozy.
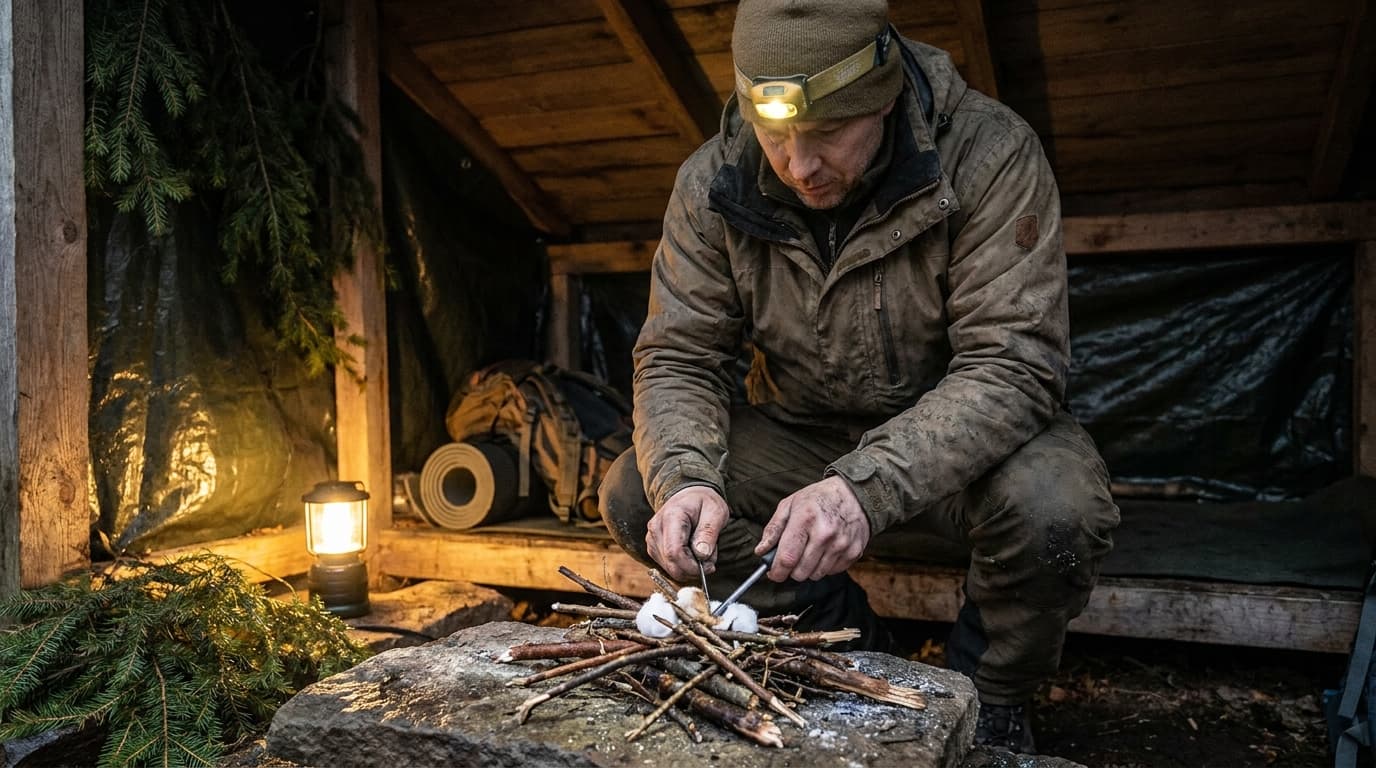
Imagine you’re out on a trail and a heavy downpour catches you off guard. You’re cold and need a flame fast, but every twig on the ground is mushy. You find an old pine stump and kick it open to find 'fatwood,' which is wood soaked in natural, flammable resin. This resin acts like a built-in fire starter that stays lit even in a drizzle, helping you dry out larger logs and get a real blaze going.
If you don't have a lighter, you can use the bow drill method to create an ember through friction. This involves spinning a wooden spindle against a flat fireboard until the heat creates a glowing coal. It takes some muscle and a bit of cordage, but it’s a reliable way to get a fire going when your matches are a lost cause. Just remember to keep that tiny ember protected from the wind and rain until it's strong.
Key insights:
Split damp logs with a knife or multi-tool to reach the dry heartwood hidden in the center.
Search for resin-heavy fatwood in dead evergreen stumps for a natural, waterproof fire starter.
Build a small 'floor' of dry bark or stones to keep your young flame off the cold, wet ground.
Keep your smallest tinder pieces inside your shirt to dry them with your body heat before lighting.
Practice the bow drill method in your backyard so you aren't learning it for the first time in a crisis.
Choosing the Best Multi-Tool for Wilderness Survival
A multi-tool is a compact lifeline designed to handle the "5 Cs" of survival: cutting, combustion, cordage, cover, and containers. When you are deep in the woods, you need a tool that prioritizes a high-quality carbon steel blade over dozens of unnecessary gadgets. This steel holds a sharp edge longer and is much easier to maintain in the field, which is vital when you are processing wood for fire or slicing through stubborn cordage.
Imagine you are racing against a mountain sunset to finish an emergency shelter. You need to slice through thick paracord and then strike a ferro rod to get your fire going before the temperature drops into the danger zone. If your tool lacks a locking blade, the knife can suddenly fold back on your fingers the moment you apply real pressure. Without a sharp, 90-degree spine on the tool, you will struggle to throw the hot sparks needed for ignition, leaving you cold and vulnerable in the dark.
While having the right gear is helpful, knowledge and skill are always more important than the tools themselves. A well-chosen multi-tool should feel like an extension of your hands, helping you manage everything from building a first aid kit to repairing a torn backpack strap. It is about having the right utility to support your basic survival skills and keeping your mindset stable when things do not go as planned.
Key insights:
Choose a tool with a locking main blade to prevent accidental injuries during heavy tasks.
Look for high-carbon steel blades that can be used to scrape a ferro rod effectively.
Prioritize tools with sturdy pliers and a wood saw for gear repair and fire prep.
Avoid overly complex models with tiny, flimsy components that break under stress.
Test the ergonomics in your hand to ensure it does not cause blisters during use.
Getting Found: Ground-to-Air Signaling Basics
When you are lost, your main job is making yourself visible to people looking from thousands of feet up. Pilots have a massive amount of sky to cover, so a single person standing still in the woods is almost impossible to spot. You need to create something that looks completely out of place by using big, geometric shapes and high-contrast colors that scream for attention.
The most effective way to do this is by following specific signaling guidelines that suggest making symbols between 13 and 20 feet tall. Use the environment to your advantage. If you are on light sand, use dark logs or rocks. If you are in a green forest, clear a patch of dirt or use bright clothing. These essential survival skills turn you from a hidden figure into a clear target for a rescue team.
Imagine you hear the distant hum of an engine while standing in a small mountain clearing. You grab your signal mirror and use the aiming sight to catch the afternoon sun, flashing a rhythmic beam toward the horizon. Even if you cannot see the plane clearly, that flash can be seen up to 20 miles away by an observer. Meanwhile, you have already stomped out a massive V in the snow, which is a universal distress signal that tells the pilot you need assistance.
It is easy to panic when you hear a plane and feel invisible. But remember that staying safe in the wilderness is mostly about preparation. Having these signals ready before you even hear a motor is the difference between going home and spending another night in the cold. It keeps your mind busy and your spirits high.
Key insights:
Use the V symbol to signal you need assistance or an X if you have a medical emergency.
Build your signals in wide clearings or on ridgelines where the sky view is not blocked by trees.
Create depth by piling rocks or logs high so the shadows make the symbols pop even in flat light.
Sweep your signal mirror across the horizon regularly even if you do not see a plane yet.
Keep your signaling materials gathered and ready to use so you do not miss a passing aircraft.
Your Next Steps in Survival Training
Survival training starts with your mindset, not just your gear. When things go wrong, use the S.T.O.P. acronym: Sit, Think, Observe, and Plan. This brief pause stops panic before it starts, allowing you to assess your surroundings clearly. As field notes from Troop 333 suggest, your skills and knowledge matter much more than the expensive items in your pack.
Imagine a hiker who just picked up a survival fire starting kit. Instead of waiting for a mountain storm, they practice in their backyard on a breezy afternoon. They learn how to strike a ferro rod when it is safe to fail, building the muscle memory needed for a real emergency without the pressure of freezing temperatures.
Focus your efforts on the "5 Cs" next: Cutting, Combustion, Cordage, Cover, and Containers. These essentials address your most urgent needs, like finding shelter within three hours during harsh weather. Following a beginner wilderness survival training guide helps you turn these basic items into life saving tools through consistent practice.
Key insights:
Practice the S.T.O.P. method often so it becomes a reflex when you feel disoriented.
Assemble a basic kit focusing on a knife, fire starter, cordage, emergency blanket, and a metal container.
Use your backyard as a training ground to test your gear and skills before heading into the deep wilderness.
Memorize the Rule of Threes to help you prioritize shelter and water over food during a crisis.
Frequently Asked Questions
Honestly, the most vital skill isn't about lighting fires or building huts; it's managing your own mind. Most people get into trouble because they panic. That is why experts use the S.T.O.P. rule, which stands for Sit, Think, Observe, and Plan. If you can stay calm, you can solve almost any other problem.
After you have settled your nerves, your next big job is usually shelter. You will find that the Rule of Threes is a great guide here, as it points out you might only have three hours to get out of the wind or rain before things get dangerous. Keeping your core temperature stable is much more urgent than finding a snack.
Most people can only last about three days without water, but you will start losing your edge much sooner than that. Dehydration does not just make you thirsty; it makes you confused and clumsy. When your brain is not getting what it needs, you are more likely to get lost or hurt.
To keep yourself in good shape, try to drink half a liter of water every hour if you have it. If you are out of water and find a source, remember that boiling it for at least a minute is the most reliable way to make it safe to drink. In a real emergency, the danger of dehydration is often a bigger immediate threat than the chance of getting sick from the water.
You actually can, though it is not nearly as powerful as it is on a bright, sunny day. Even when it is overcast, there is still ambient light hitting the mirror that you can bounce toward the horizon or a passing plane. It might not create that blinding flash you see in movies, but it is still a flash that does not look like anything else in nature.
If the clouds are really thick, you will want to back that up with other methods. For example, ground-to-air distress signals should be built between 13 and 20 feet tall to make sure rescue crews can spot them from high above. It is all about making yourself stand out from the landscape.
Almost always, the best move is to stay right where you are. When you keep moving, you become a moving target for rescuers, and you run the risk of walking deeper into the woods or getting hurt. The first thing you should do is follow the S.T.O.P. acronym, which stands for Sit, Think, Observe, and Plan. It helps you keep your cool so you do not make a panicked mistake.
Remember that your priority is staying alive until help arrives. This is where the Rule of Threes comes in handy because it reminds you that you can only survive about three hours without shelter in extreme conditions. Focusing on building a quick debris hut is usually a much better use of your energy than trying to hike your way out when you are disoriented.
Conclusion
So what does all this mean for your next trip outdoors? It means that survival skills like emergency shelter building for beginners are about much more than just sticks and leaves. When you combine the Rule of Threes with the 5 Cs of gear, you create a safety net that keeps you warm and hydrated. These basics turn a scary situation into a manageable one by giving you a clear list of priorities to follow.
Your next move is to take these ideas out of the house and into the real world. You do not need a mountain range to start. Try building a small debris hut in your backyard or practice finding dry wood for a fire after a rainy afternoon. Testing your multi-tool and water purification methods in a safe spot builds the kind of muscle memory that saves lives when it actually counts.
The bottom line is that being prepared makes the wilderness a lot more fun. When you know how to stay dry and get found, you can focus on the view instead of the risks. Pack your kit, practice your skills, and head out there with confidence.
Every WilderReady guide is researched, written, and fact-checked in-house against trusted references such as the American Red Cross, the National Park Service, and the CDC before it goes live. We publish under this shared byline instead of invented personas, so you always know who stands behind the guidance you are reading.