Building Your Wilderness Survival First Aid Kit List: What Actually Works
Building a wilderness survival first aid kit list is the most important thing you'll do before heading off the grid for any length of time.
It's the difference between a minor injury and a life-threatening disaster when help is miles away. You need gear that actually works, focusing on trauma supplies like tourniquets rather than just basic bandages.
You'll learn about the must-have medical items, how to store water for long-term emergencies, and which survival tools are worth the weight so you can stay safe outdoors.
What Must Be on Your Wilderness Survival First Aid Kit List?
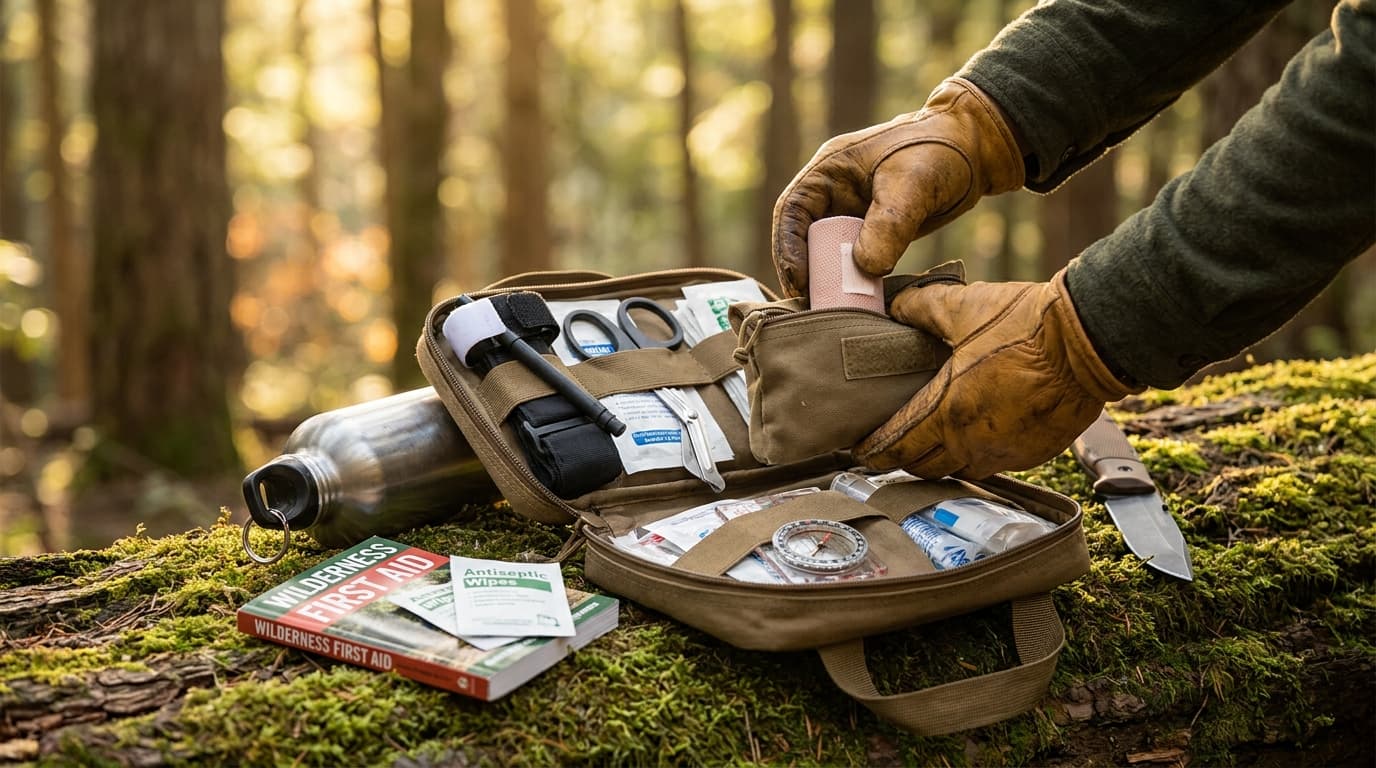
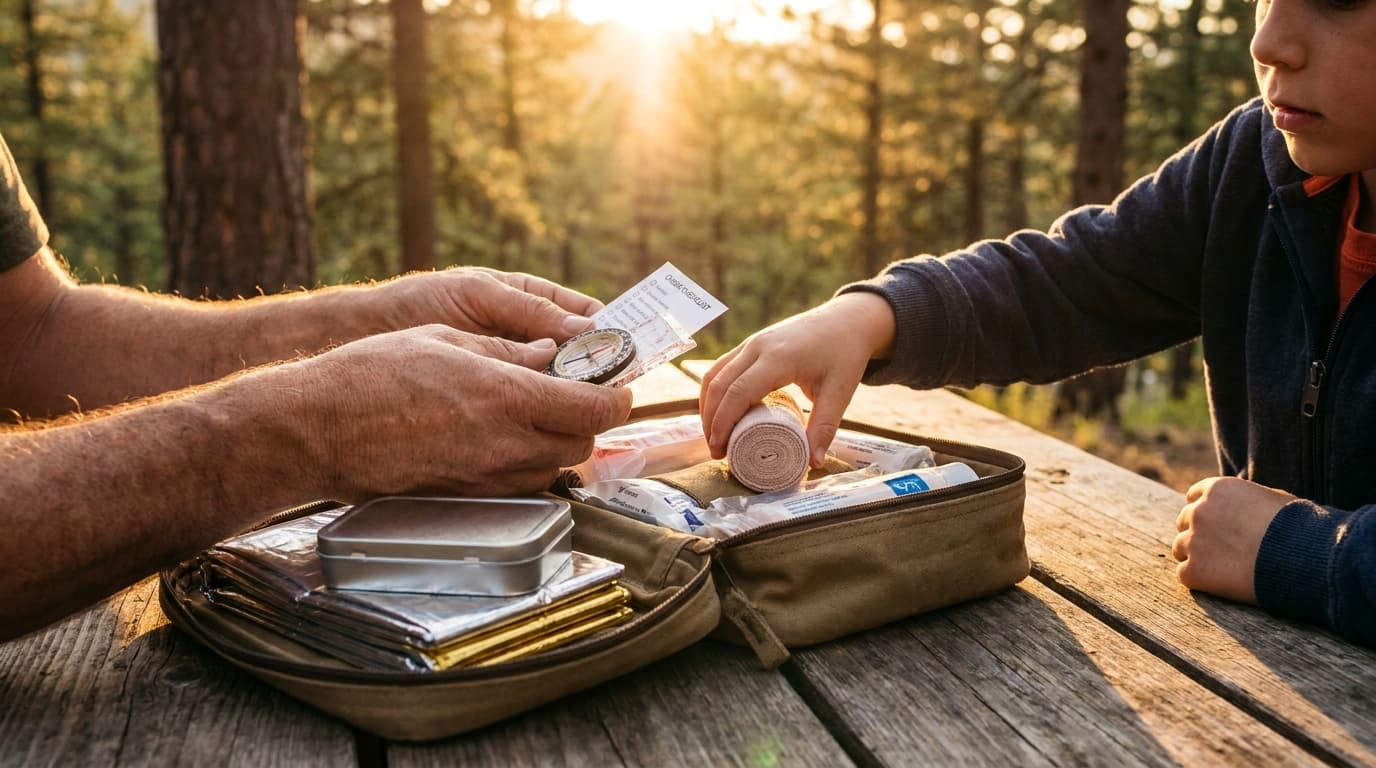
When you're miles away from the nearest road, your first aid kit needs to be more than just a box of stickers. You need gear that handles the scary stuff where help won't arrive for hours. Most kits you buy at the store are mostly just fluff, so you have to prioritize items that manage heavy bleeding and broken bones. It is better to have one high-quality trauma dressing than fifty tiny bandages that can't stop a real wound.
Imagine you're crossing a creek and your foot slips on a slick, mossy rock. You end up with a deep gash on your calf that's bleeding fast. In that moment, a tiny adhesive strip won't do a thing. You'll be glad you packed a real pressure bandage or a tourniquet to get the situation under control before you start the long walk back to the trailhead.
It helps to divide your kit into trauma gear and comfort items. Trauma gear is the 'stop the bleed' stuff, like a SAM splint for a snapped ankle or heavy-duty gauze. Comfort items are for the small annoyances, like tweezers for a splinter or cream for a bug bite. Always make sure the life-saving tools go in first because you can't comfort your way out of a serious fracture in the woods.
Getting your kit right isn't about carrying an entire hospital on your back. It's about having the specific tools that buy you time when things go wrong. Just like being a prepared pet parent who always has the essentials ready for a curious cat, you want to be the hiker who stays calm because they have the right gear for the job.
Key insights:
Pack a dedicated tourniquet and learn how to use it before you leave home.
Include a SAM splint because it's lightweight and works for wrists, ankles, or even neck support.
Swap out half of your band-aids for rolled gauze and medical tape to handle larger wounds.
Carry a pair of nitrile gloves to keep things clean while you're working on an injury.
Add a small bottle of saline solution to wash out dirt or debris from a cut.
Trauma Gear vs. Basic Comfort Items
Most people pack a first aid kit full of band-aids and aspirin, but those items only handle minor annoyances. In the wilderness, you need gear that addresses life-threatening injuries like heavy bleeding or broken bones. Focus your kit on trauma essentials first because a blister won't kill you, but an uncontrolled bleed definitely will.
Imagine you're hiking miles from the trailhead when you slip on a wet root and hear a sickening crack in your ankle. A colorful adhesive bandage is useless here. This is where a SAM splint becomes your best friend, allowing you to stabilize the limb so you can actually move toward help instead of being stranded in the woods.
Key insights:
Prioritize 'stop the bleed' tools like tourniquets and hemostatic gauze over basic bandages.
Pack a lightweight SAM splint to handle fractures or severe sprains on the trail.
Keep comfort items like moleskin and ibuprofen in a separate, smaller pouch for quick access.
Place your trauma gear at the very top of your bag so you do not have to hunt for it during an emergency.
How to Store Water for Long-Term Emergencies Without It Going Bad
Storing water for the long haul is about more than just filling jugs. To keep it potable for years, focus on the container material and the storage environment. Using food-grade, opaque containers in a cool, dark place prevents algae and keeps water fresh for you and your furry friends.
Imagine you’re prepping for a storm and store clear plastic jugs in a sunny utility room. A few months later, you notice a green tint because algae had a field day in the light. By using an opaque 55-gallon blue drum in a dark garage instead, your water stays clear and safe for your family and your cats.
It is also a good idea to think about how heavy these containers are once they are full. A big drum isn't moving anywhere once it is topped off, so pick your spot carefully before you start the hose. You don't want to realize your water supply is blocking the lawnmower after it weighs 400 pounds.
Key insights:
Use blue food-grade drums to block UV light and stop algae from growing in your supply.
Add water purification drops or a small amount of unscented bleach to kill any hidden bacteria.
Place containers on wooden pallets to keep them off cold concrete, which can cause temperature swings.
Label every container with the date you filled it so you know exactly when it is time to rotate the stock.
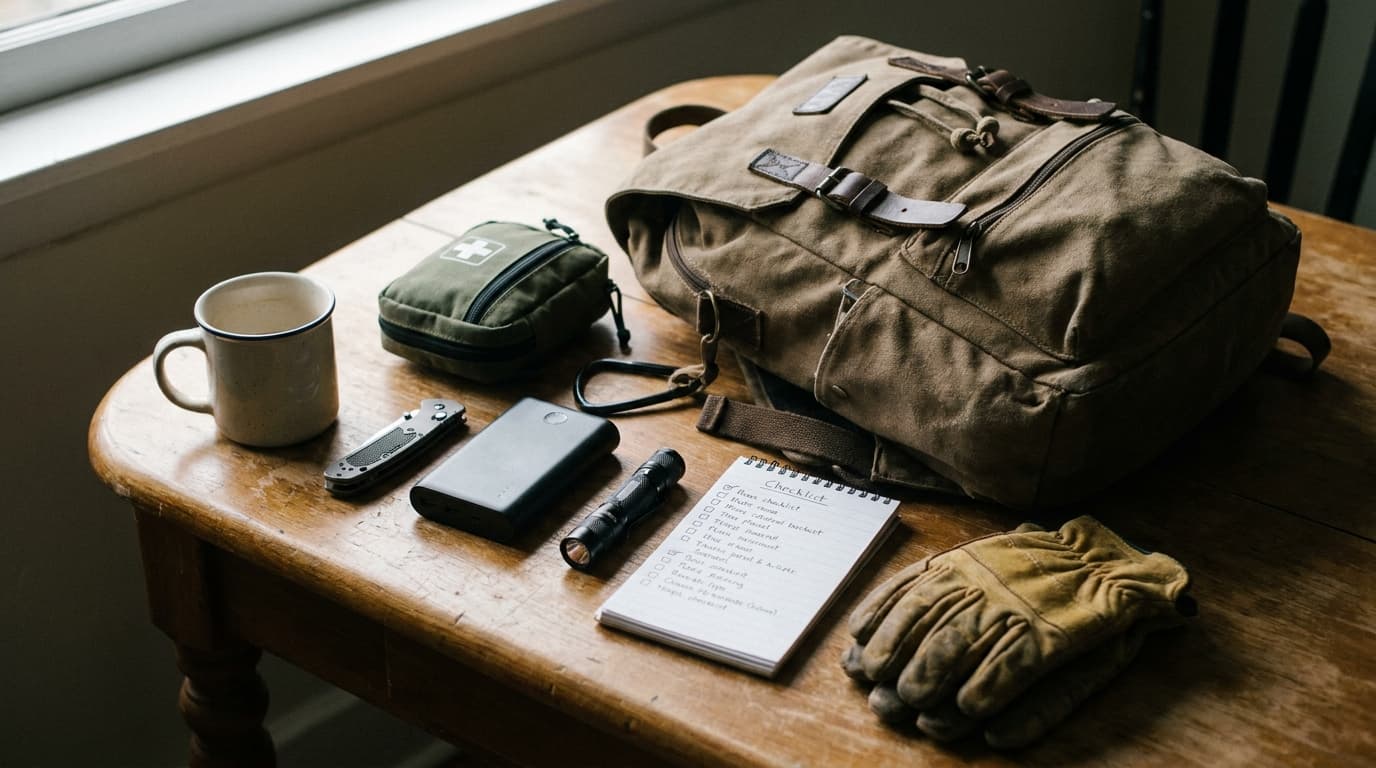
A Simple Bug Out Bag Checklist for Beginners
A bug out bag is basically your 72-hour survival insurance policy. It is a pre-packed kit that holds everything you need to get through a sudden evacuation when staying home is no longer safe. Most beginners make the mistake of packing too much heavy food or fancy gadgets that they do not actually know how to use. To keep your bag light and effective, you should follow the Rule of Threes. This survival logic reminds you that you can only last three hours without shelter in harsh weather and three days without water, so those items always come first.
Think about your immediate needs before you worry about luxury items. You want your bag to cover the basics: clean water, warmth, and a way to signal for help. Since you might be on the move for several days, everything should be portable and durable. It is not about packing for a fun camping trip; it is about having the bare essentials to reach a safe location when your home is no longer an option. This means prioritizing a solid wilderness survival first aid kit list over extra changes of clothes.
Imagine a sudden wildfire warning pops up on your phone at two in the morning. You have five minutes to get yourself, your family, and even your cat into the car before the smoke gets too thick. If your bag is already sitting by the door, you are not wasting precious time looking for a flashlight or your pet's emergency food in the dark. You just grab the bag, grab the carrier, and get out safely. Having that bag ready turns a life-threatening panic into a controlled exit.
The goal is to be ready for anything without being weighed down by gear you do not need. Keep it simple and focus on the items that actually keep you alive during those first few critical days.
Key insights:
Prioritize a high-quality water filter or purification tablets over bulky jugs.
Include a compact emergency bivvy or a lightweight tarp for quick shelter.
Pack high-energy, non-perishable snacks like protein bars that require no cooking.
Keep a printed list of emergency contacts and a small stash of cash in a waterproof bag.
Choose a sturdy survival knife that can handle both heavy tasks and simple repairs.
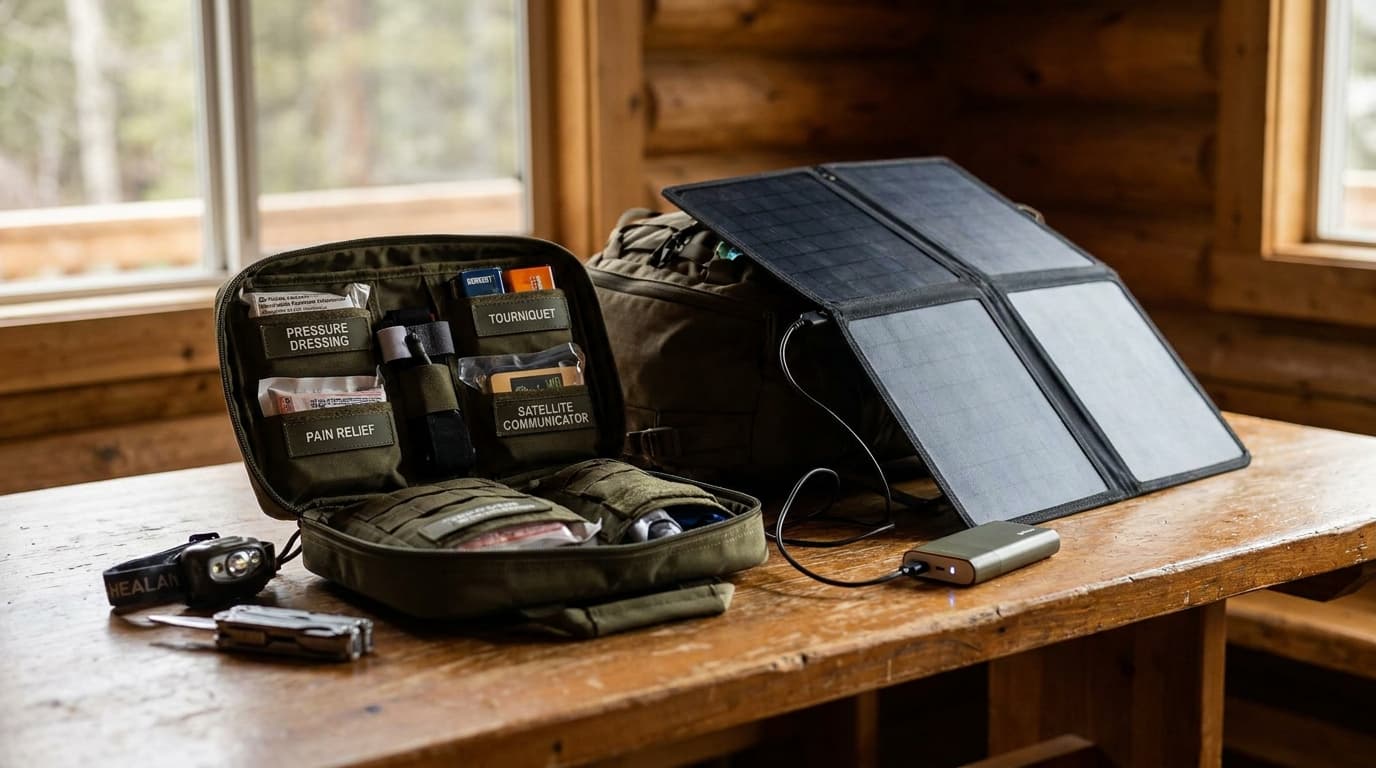
Why Portable Solar Panels for Off-Grid Survival Are Worth the Weight
You can definitely rely on solar power to keep your essential gear running in the backcountry. While it won't power a microwave, it is perfect for keeping your headlamp, GPS, and satellite communicator charged. In a survival situation, being able to call for help or see in the dark is more than a luxury - it is a lifeline.
Modern panels are light enough that they do not feel like a heavy brick in your pack. They turn sunlight into a constant energy source, which means you are not just counting down the minutes until your batteries die. As long as the sun is up, you have a way to stay connected to the outside world and keep your navigation tools active.
Imagine you are three days into a deep wilderness trek and your satellite messenger hits 5% battery. You are miles from the trailhead and need to check a weather report or send a check-in ping to your family. Instead of panicking, you clip a small foldable panel to the top of your pack. By the time you reach your evening campsite, your device is back to full strength and ready for an emergency call.
Key insights:
Choose foldable monocrystalline panels because they offer the best efficiency-to-weight ratio for hikers.
Look for a panel with at least 10 to 21 watts of output to charge small electronics effectively even in partial clouds.
Hang the panel on the back of your backpack using carabiners so you can charge your power bank while you walk.
Store your generated power in a small portable battery bank rather than charging your phone directly to avoid heat damage.
Keep the panel surface clean of dust and pine needles to ensure it absorbs the maximum amount of sunlight.
Finding the Best Survival Knife for Cold Weather Use
Standard knives often fail in the cold because extreme temperatures make steel more brittle. If you are prying or heavy chopping in freezing weather, a cheap blade can literally shatter like glass. This is why your choice of gear needs to change when the thermometer drops below freezing.
The real danger is often your grip rather than just the metal. Cold hands lose their fine motor skills fast, and standard plastic or smooth wood handles become incredibly slippery when moisture freezes on the surface. You need a tool that stays in your hand even when everything is iced over and your fingers are numb.
Think about a situation where you are shivering and need to process wood for a life-saving fire. You are wearing bulky thermal gloves that make it hard to feel the handle. If you try to baton through a frozen piece of oak with a folding knife, you are asking for trouble. The pivot point is a natural weak spot, and trying to manipulate a small folding lock with stiff fingers is how accidents happen. One slip and that blade is closing on your hand or snapping off entirely, leaving you without a way to build heat.
Key insights:
Select a full-tang fixed blade to ensure the metal runs all the way through the handle for maximum strength.
Look for rubberized or heavily textured grips that will not get slick when they are covered in frost or melting snow.
Choose a knife with an oversized finger guard to keep your hand from sliding onto the blade if your grip slips.
Test your knife while wearing your actual winter gloves to make sure you can still control it safely.
Avoid folding knives for heavy tasks in the winter since moving parts can freeze shut or break under pressure.
Common Questions About Survival Gear
Survival gear isn't a one-and-done purchase. A common myth is that a store-bought kit is ready for anything, but many pre-made sets use cheap fillers just to look complete. You also need to keep a close eye on expiration dates. Most people forget that items like antibiotic ointments and even standard bandages lose their effectiveness or adhesive power after a few years sitting in a bag.
Imagine a hiker who grabs a dusty bug out bag they packed three years ago and heads into the woods. When they finally need to treat a nasty blister or clean a scrape, they find the alcohol pads have dried into useless slips of paper and the medication has expired. It is a small, frustrating detail that can turn a minor injury into a serious problem when you are miles from the nearest road.
The choice between DIY and pre-made kits usually comes down to how much you trust the individual components. While a professional kit provides a solid baseline, it almost always needs a few personal upgrades to be truly reliable in the wild.
Key insights:
Audit your medical supplies every six months to swap out expired ointments and meds.
Replace flimsy tools in pre-made kits with a high-quality survival knife or multi-tool.
Store your water and gear in a cool, dark place to prevent plastic degradation.
Practice using your gear in the backyard so you aren't reading instructions during an emergency.
Frequently Asked Questions
If you ask most survival experts, they'll tell you it's a high-quality tourniquet. While we usually think of first aid as cleaning cuts or bandaging blisters, those aren't life-threatening. A tourniquet is the one tool that can stop massive bleeding when you're miles away from a hospital, and it's almost impossible to improvise one effectively with just a belt or a stick.
Think of it this way: you can manage a sprained ankle or a small burn with basic supplies, but you can't manage a major arterial bleed without the right gear. It's the one item you hope you never use, but you'll be glad you have it if things go sideways.
The general rule is to rotate your water every six months if you're storing it yourself in food-grade plastic containers. Water doesn't really 'expire' in the way food does, but plastic can leach chemicals into the water over time, and bacteria can start to grow if the seal isn't perfect or if the container wasn't totally clean to start with.
If you want something that lasts longer, you can look into commercially sealed water cans or pouches which are often rated for five years. But for most of us, just remember to swap out your DIY jugs twice a year. It's a good habit to do it when you change your clocks for daylight savings so you don't forget.
Building your own bag is almost always the better way to go, though it takes a bit more time. When you buy a pre-made kit, you often end up with a lot of low-quality items that might fail when you actually need them. Plus, you will not be as familiar with where everything is hidden in the pockets if you did not pack it yourself.
Think of a pre-made bag as a starter kit. If you are feeling totally lost, go ahead and buy a decent one to get a baseline. But here is the thing, you should plan to replace the cheap flashlights and tools with better gear as you go. This way, you understand exactly how every piece of equipment works before an emergency hits.
The main difference usually comes down to the handle and the type of steel used. In freezing temperatures, a metal handle is a huge mistake because it can actually stick to your skin or just be too cold to hold comfortably. You want a handle made of something like rubberized plastic or Micarta because these materials stay easy to grip even when it is snowing.
Also, cold weather makes some types of steel more brittle. A good cold-weather survival knife uses steel that can handle the stress of chopping frozen wood without snapping. It is also smart to look for a handle that is big enough to use while you are wearing thick gloves so you do not have to risk frostbite just to cut some kindling.
Conclusion
So, what is the big takeaway? Building a solid wilderness survival first aid kit list is about more than just buying stuff. It is about creating a system where your water storage, your bug out bag, and your tools like solar panels and knives all work together. When you have the right gear for the right environment, you stop worrying about the what-ifs and start enjoying the outdoors with real confidence.
Remember that even the best tools are only as good as the person using them. Your next step is to pick one category we covered today and do a quick audit of what you already have. Maybe you need to refresh your water supply or double-check the batteries for your gear. Taking ten minutes now to organize your supplies can save you a lot of stress later on.
True preparedness is a journey, not a one-time chore. Keep it simple, stay curious, and do not be afraid to test your gear before you actually need it. You are doing the work to stay safe, and that is a great feeling. Now, go get your kit ready and enjoy your next adventure.
Every WilderReady guide is researched, written, and fact-checked in-house against trusted references such as the American Red Cross, the National Park Service, and the CDC before it goes live. We publish under this shared byline instead of invented personas, so you always know who stands behind the guidance you are reading.