Wilderness Survival Fundamentals for Beginners: A Bushcraft Guide
Wilderness survival fundamentals for beginners start with basic safety, shelter, and water, but bushcraft takes it a step further by teaching you to thrive instead of just surviving.
Wilderness Survival Fundamentals for Beginners: A Bushcraft Guide
Wilderness survival fundamentals for beginners start with basic safety, shelter, and water, but bushcraft takes it a step further by teaching you to thrive instead of just surviving.
While survival is just about getting home, bushcraft is about making the woods your home. Learning these skills is vital because high-tech gear often fails when you need it most, and knowledge is way lighter to carry than a heavy pack.
You'll learn how to actually prioritize your needs, avoid common errors, and build your own tools from scratch using natural materials.
Surviving an unexpected night outdoors starts with a mindset shift from panic to preparation. The moment you realize you are lost or stranded, stop and assess your surroundings rather than pushing forward into the dark. Your goal isn't just to make it to morning but to stay dry and maintain your body temperature. This is where essential survival skills for staying safe in the wilderness become your best tool for staying calm and focused.
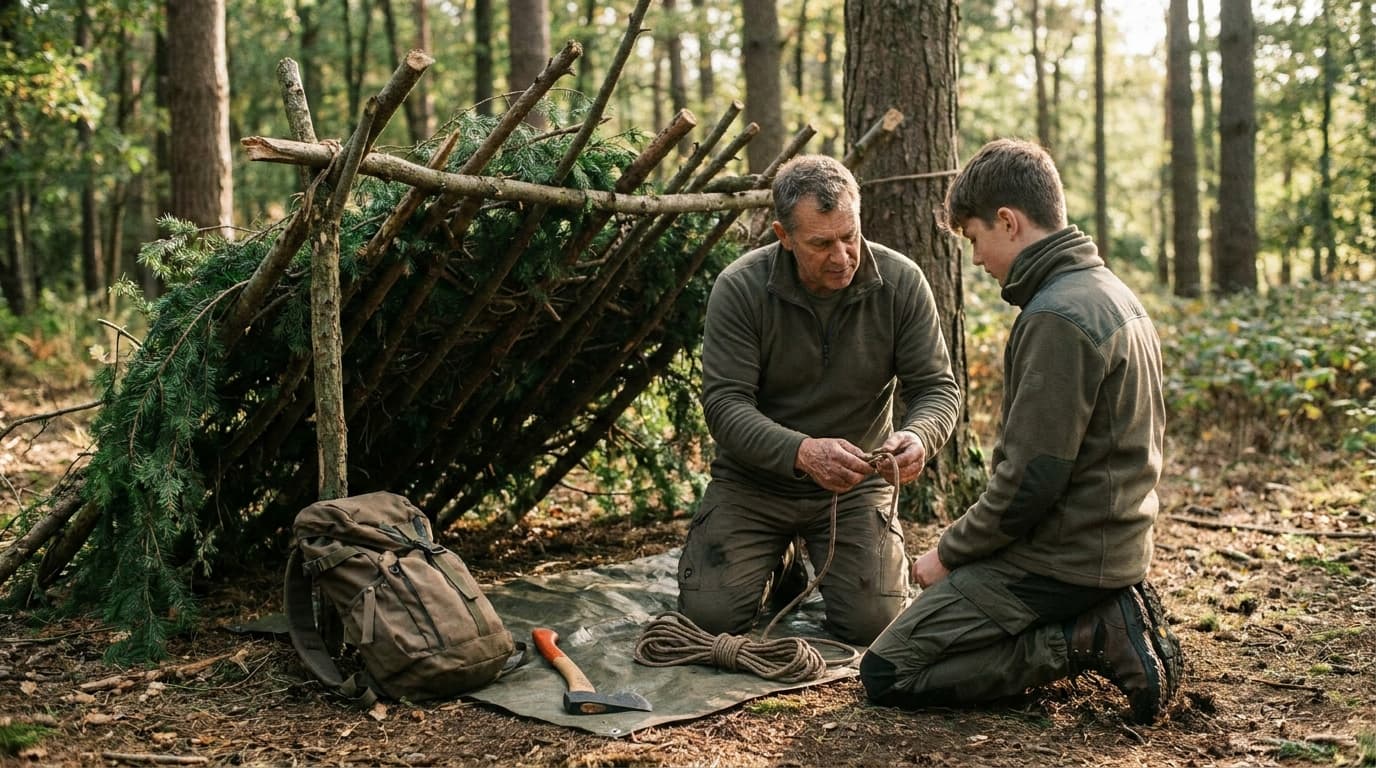
Imagine you are trekking through a dense forest when the sky turns gray and a heavy rain begins to fall. You have a basic kit and a 9x9 tarp, but the light is fading fast. Instead of wandering further and risking a fall, you find two sturdy trees and string a ridgeline. By draping your tarp over the line and staking the corners, you create a classic A-frame. This simple structure is a life-saver in a storm, providing a dry micro-climate that keeps the wind from stealing your warmth while you wait for daybreak.
For off-grid shelter building, the ground is often your biggest enemy because it acts like a giant heat sink. It pulls warmth away from your body through conduction, which is why survival skills how to find water, navigate, and build shelter emphasize the importance of insulation. Pile up dry leaves, grasses, or evergreen boughs to create a thick barrier between you and the dirt. Experts at Outdoor Life suggest that a 9x9 foot tarp is the ideal size for a beginner's bushcraft kit because it is large enough for a solid A-frame but small enough to manage alone. Keeping the interior space tight ensures your body heat stays trapped where you need it most.
Key insights:
Pick a spot on high, dry ground and away from 'widow-makers,' which are dead branches that could fall on you during the night.
Build a debris bed at least four to six inches thick to insulate your body from the cold earth.
Construct your shelter just large enough to fit your body to maximize heat retention and stay warm.
Prioritize staying dry above all else, as wet clothes lose their ability to keep you warm almost instantly.
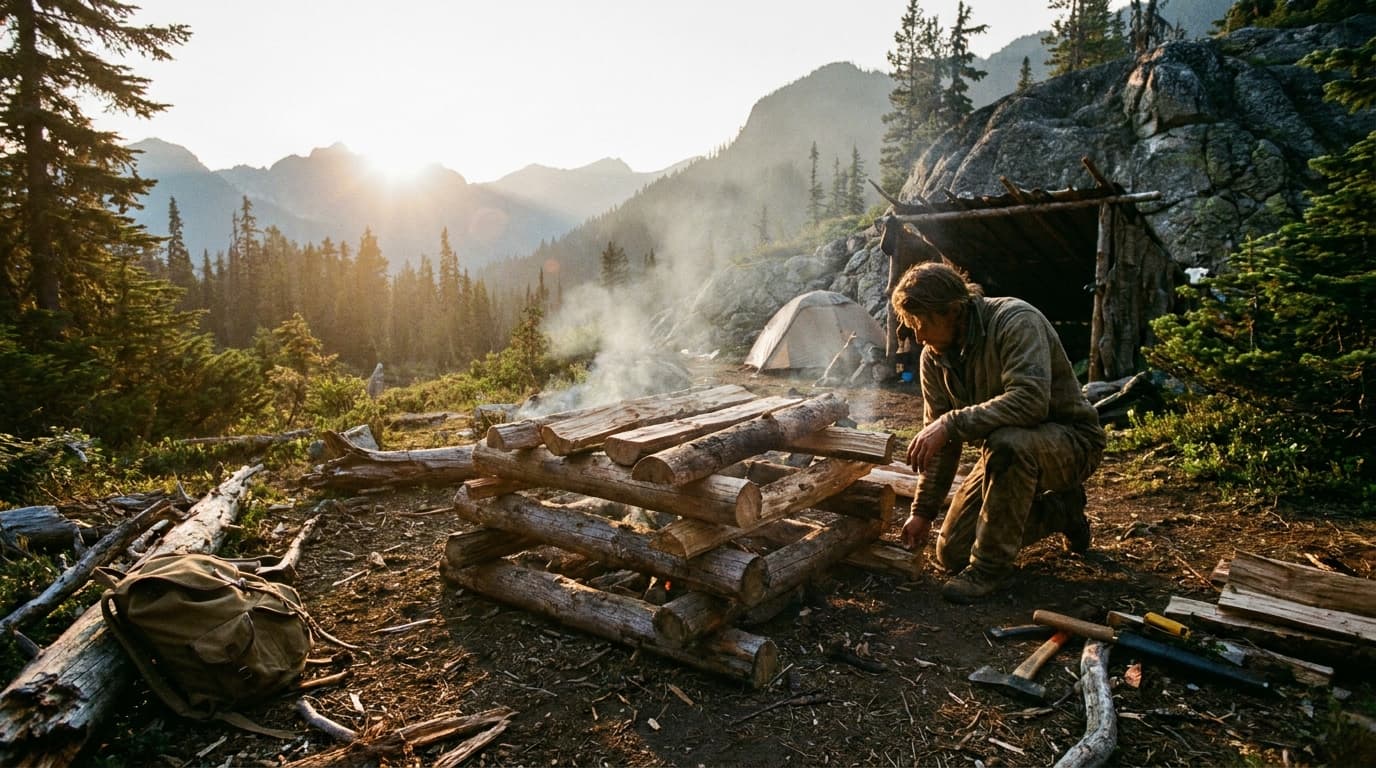
Building a shelter off-grid is about more than just staying dry. You have to fight the ground and the wind simultaneously. A small, snug space is much better for staying warm because it traps your body heat instead of letting it escape into a large, drafty area. As noted in essential survival skills for staying safe in the wilderness, knowledge of the land is often more valuable than expensive gear when it comes to staying warm.
Imagine you are scouting a spot as the sun dips below the treeline. You find a flat area that looks perfect, but you look up and see a heavy, dead branch hanging precariously - a classic "widow-maker." Instead of risking your life, you move to a drier patch and start piling up a thick mattress of pine needles and leaves. This debris bed is what stops the cold earth from sucking the warmth out of your body while you sleep.
Key insights:
Scan for "widow-makers" or dead branches overhead before you unpack your gear.
Build a debris bed at least six inches thick to block the cold ground from stealing your heat.
Keep the shelter interior small to maximize your body's ability to warm the air.
Choose high ground to avoid damp soil and the morning mist that settles in low valleys.
What Are the Biggest Survival Mistakes to Avoid in the Wilderness?
Many beginners make the mistake of equating expensive gear with actual safety. They might have the latest carbon-fiber tools, but if they do not understand the land, they are still at risk. Real survival is about land-literacy - the ability to look at a forest and see resources rather than just trees. This is the core difference between survival and bushcraft; one is about escaping, while the other is about essential survival skills for staying safe in the wilderness by thriving in place.
Relying on technology is another trap that catches people off guard. A GPS is great until the battery dies or the screen freezes in the cold. Without the ability to read a map or understand the local terrain, you are essentially helpless the moment your electronics fail. Experts from Yost Survival Skills emphasize that while gear is a supplement, your skills are your only permanent insurance policy.
Imagine a hiker who heads deep into the woods with a brand-new satellite communicator but no idea how to build a fire in the rain. When a sudden storm hits and the device fails to find a signal, they are left shivering in the dark. They have a four-hundred-dollar gadget in their pocket, but they cannot perform the basic task of staying warm because they never practiced the hands-on part of the experience.
Key insights:
Focus on land-literacy by learning to identify trees and plants that can be used for cordage or medicine.
Carry a 9x9 foot tarp as your primary shelter tool since it is light and easy to pitch in multiple configurations.
Master the fundamentals for beginners like map reading and basic knot tying before buying high-tech gadgets.
Practice skills in a controlled environment, like your backyard, so you are not learning for the first time during an emergency.
Remember that boiling is the most reliable way to kill pathogens like Giardia in any water source you find.
Which Beginner Bushcraft Skills Actually Help You Thrive?
Bushcraft is about more than just getting home; it is about making the woods work for you. While survival focuses on escaping a bad situation, bushcraft is about thriving long-term by using what the land provides. You learn to see resources where others see only trees, turning raw materials into gear that makes life easier.
A great example is making your own tools from the environment. Instead of relying on a store-bought kit, you can craft a 70-inch traditional flat-belly bow. This design is crucial because a flat inner surface helps the wood handle tension without breaking. Yost Survival Skills points out that a bow should be roughly your own height to make it easier to construct and shoot.
Imagine you are in the wild and need a reliable way to hunt or protect yourself. You find a suitable branch and begin carving the flat belly to ensure the limbs bend evenly. You then gather plant fibers, twisting them in opposite directions until they kink and form a loop to create strong cordage. One bundle is twisted tightly and passed over the top of the other in a repeating pattern, adding new fibers as the string thins.
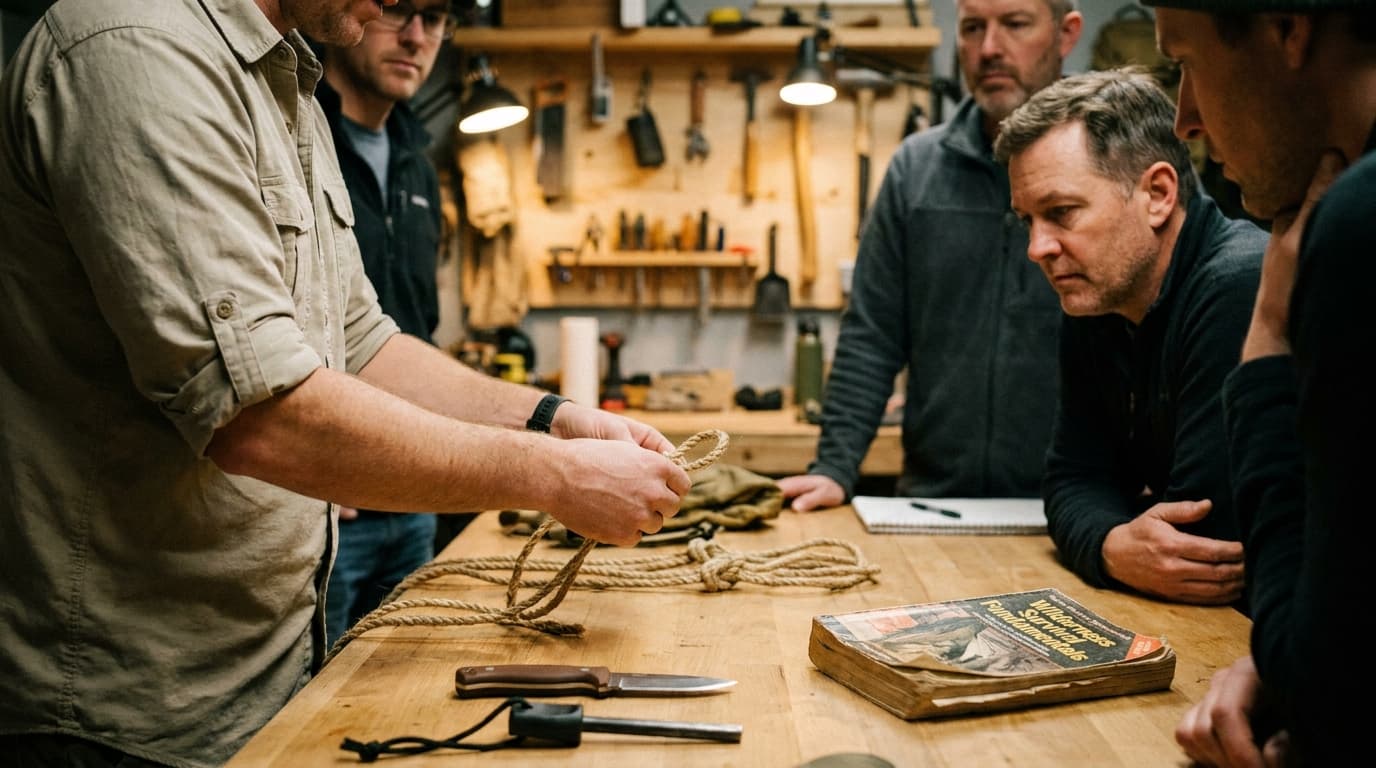
Here is the thing: you cannot learn everything from a screen. YouTube videos are great for ideas, but they miss the tactile feel of the work. You cannot smell the wood or sense the exact pressure needed to shape a tool through a tablet. This is why finding a mentor is so valuable for wilderness survival fundamentals for beginners.
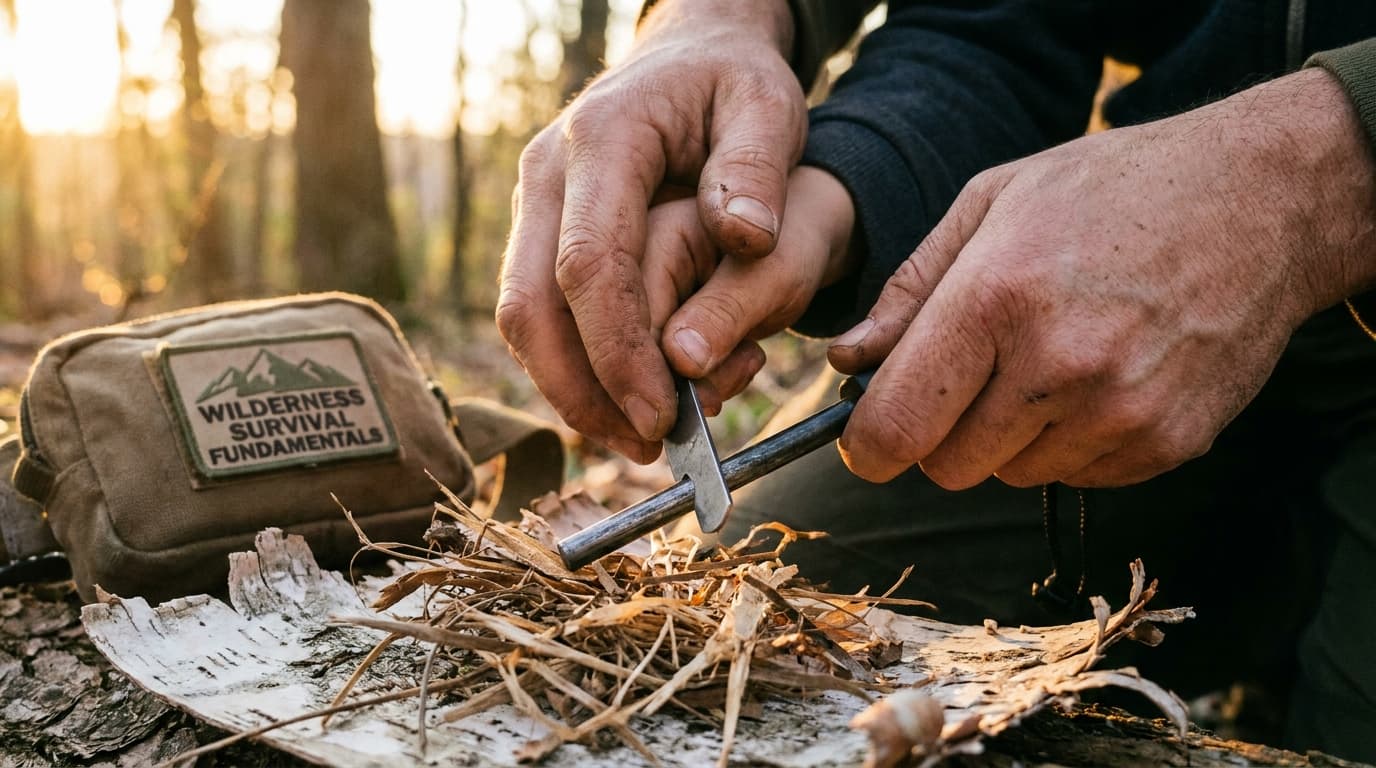
For example, when a student tries to start a friction fire, they often fail because they do not know how much downward pressure to apply. An instructor can watch your posture and correct it in real-time before you get frustrated. Karie Lee Knoke, an Alone runner-up, explains that bushcraft is really about keeping those ancient traditions alive through direct, hands-on experience.
Practice in a safe environment builds the muscle memory you need for high-stakes situations. Testing your skills at a local workshop means you will not be guessing when you are actually in the field. It turns abstract information into a permanent part of your skill set, connecting your hands and heart to the materials around you.
Key insights:
Carve survival bows with a flat belly design to distribute stress and prevent the wood from snapping.
Build cordage by twisting plant fibers in opposite directions and overlapping them as the string thins.
Use lecithin granules from a health food store as a substitute for brain tanning if you are processing hides.
Seek out local workshops to practice fire-making and tool-shaping with an experienced instructor for real-time feedback.
Carry a 9x9 foot tarp in your beginner kit as it is the ideal size for creating effective A-frame shelters.
The Importance of Mentorship Over Digital Learning
While digital guides provide the theory, they cannot replicate the physical intuition developed through direct instruction. Learning wilderness survival fundamentals for beginners requires you to understand the feel of the materials, like the specific resistance of wood during a friction fire attempt. A mentor provides the real-time correction that a pre-recorded video simply cannot offer.
For example, when you are learning to build a Dakota Fire Hole for boiling water, a video might show the layout but won't tell you if your soil is too loose to support the structure. An experienced instructor can show you how to test the ground and adjust your technique before you waste hours of energy. David Wescott, a primitive skills instructor, notes that the real goal is connecting your hands and heart to the materials you find in nature.
Practice in a safe environment builds the muscle memory you need for high-stakes situations. Testing your skills at a local workshop means you will not be guessing when you are actually in the field. It turns abstract information into a permanent part of your skill set, ensuring you can perform even when the temperature drops or gear fails.
Key insights:
Search for local primitive skills workshops to get hands-on experience with fire-making and tool-shaping.
Practice high-stakes skills in a safe, controlled environment like a backyard before heading into the deep woods.
Focus on repetitive drills to build the muscle memory needed for high-stress situations.
How to Find and Purify Water Without a Filter?
Finding a clear stream in the woods feels like a win, but looks are deceiving. Microscopic pathogens like Giardia often hide in the cleanest-looking water, making it one of the most common survival mistakes to avoid wilderness situations. Boiling is the only 100% reliable way to kill these hitchhikers without a modern filter.
To do this efficiently, use a Dakota Fire Hole. This ancient method involves digging two small, interconnected holes in the ground to create a natural chimney effect. It burns hot and fast while keeping your fire hidden from the wind, which is a key part of wilderness survival fundamentals for beginners because it saves fuel and time.
Imagine you are near a creek and your water bottle is empty. Instead of risking a stomach bug that could end your trip, you dig your fire hole and get a rolling boil going in a metal cup. In ten minutes, you have safe water and a small, manageable fire that leaves almost no trace behind.
In dry areas where streams are non-existent, you can pull moisture directly from the earth using a solar still. You dig a hole about three feet deep and place a clean container right in the center. Cover the whole thing with a clear plastic sheet, sealing the edges with dirt to trap the air inside.
Place a small rock in the center of the plastic so it dips down into a 45-degree cone. As the sun warms the ground, moisture evaporates, hits the plastic, and drips into your cup. Just remember that these stills produce very little water in extremely arid soil, so they are often a backup rather than a primary source.
Key insights:
Boil all water for at least one minute to ensure it is safe from pathogens like Giardia.
Dig a Dakota Fire Hole to create a high-heat, wind-resistant cooking pit that uses less wood.
Use a clear plastic sheet and a center weight to create a condensation cone for your solar still.
Seal the edges of your solar still with heavy dirt to prevent moisture from escaping into the air.
Look for damp soil or green vegetation as the best spots to dig for a solar still to maximize output.
Building a Solar Still for Dry Conditions
Building a solar still is about creating a miniature ecosystem that works for you. By digging deep into the earth, you reach the moisture that hasn't been baked away by the surface heat. This is a vital survival skills technique for arid climates where surface water is a luxury you simply cannot find.
Imagine you are stuck in a sandy valley under a punishing afternoon sun. You spend the cool morning hours digging your three-foot pit and carefully placing your collection cup at the bottom. Once the plastic sheet is weighted and sealed, you can retreat to the shade. The sun does the heavy lifting, turning the hidden moisture in the sand into life-saving sips while you conserve your energy.
While this method is reliable, it is also slow. A single still might only produce a small amount of water per day, so it works best as a supplement to other water-sourcing methods. In extreme desert conditions, you may need to build multiple stills to collect enough hydration to sustain yourself over a long period.
Key insights:
Dig a three-foot hole to reach the cooler, damp soil layers below the surface.
Place a clean container in the center to catch the condensation drips.
Use a small stone to create a 45-degree cone in your plastic sheet for better flow.
Seal the edges with heavy dirt to keep the humid air trapped inside the pit.
Add non-poisonous green vegetation to the pit to increase the moisture output in dry areas.
Can You Really Hunt and Process Food in the Wild?
Hunting with primitive tools is not just a historical reenactment. It is a legal and practical way to secure food if you have the right training. While most modern hunters reach for a rifle, wilderness skill reports show that atlatl hunting is legally permitted for big game in specific states like Missouri and Alaska. This ancient spear-throwing device provides enough force to take down large animals, though it requires significant practice to master.
Imagine standing in the dense woods of Missouri during deer season. Instead of a compound bow, you are holding a wooden thrower and a long dart. You are practicing a skill that kept humans fed for millennia while connecting your hands and heart to the land. If you are successful, the work shifts to processing the animal, which includes essential survival skills like tanning the hide to ensure nothing goes to waste.
Processing food in the wild also means thinking ahead about preservation. If you find yourself without traditional materials for tanning, you can look for clever alternatives. For instance, lecithin granules found in health food stores serve as a perfect substitute for animal brains during the tanning process. This allows you to create soft, durable leather even if you are miles away from a supply store.
Key insights:
Research local wildlife laws in states like Alabama or South Carolina to see where primitive tools are legal.
Use lecithin as a tanning agent if animal brains are unavailable or if you prefer a simpler substitute.
Practice your throwing technique daily because primitive tools lack the mechanical sights of modern gear.
Build your survival bow between 68 and 72 inches tall to make it easier to shoot and less likely to break.
Frequently Asked Questions
Think of survival as your get home plan and bushcraft as your stay here plan. Survival is all about enduring an unexpected crisis and getting back to civilization as fast as you can. Bushcraft is a purposeful experience where you use ancient skills to live in the woods for a long time.
Here is the thing: while survival often relies on high tech gadgets to save you, bushcraft is about keeping traditions alive and connecting with the land. It is the difference between waiting for a rescue and knowing how to make your own cordage from plant fibers to build a permanent home in the brush.
A 9x9 foot tarp is basically the sweet spot for anyone just starting out. It is large enough to create a reliable A-frame shelter that keeps you and your gear dry, but it is not so massive that it becomes heavy or difficult to pitch by yourself.
When you are learning the ropes, you want gear that can do more than one thing. This specific size gives you enough fabric to experiment with different shelter shapes without the bulk of a giant camping tarp. It is the perfect balance of protection and packability for a beginner bushcraft kit.
You'll generally want to build a survival bow that is about as tall as you are. For most people, that means aiming for a length between 68 and 72 inches. Making it this long helps ensure it is easier to shoot and significantly reduces the chance of the wood snapping while you are putting it together.
Here is a tip most beginners miss: the shape matters just as much as the length. According to wilderness survival experts, you should make the limbs wide and flat rather than narrow and round. This flat design helps the wood hold its shape over time and keeps the bow from breaking when you pull it back.
In terms of pure reliability, boiling is hard to beat. While modern filters are fast and portable, boiling is the most effective way to kill off pathogens like Giardia that hide in natural water sources. If you have a fire going and a container, it is the safest bet you can make.
That said, it really depends on your situation. Boiling takes time and fuel, and it won't remove sediment or chemicals. But for killing bacteria and parasites, outdoor survival research confirms that boiling remains the most dependable method for purifying water from streams or lakes.
Conclusion
So what is the big takeaway here? Wilderness survival fundamentals for beginners are not just about carrying a heavy pack of gadgets. It is about the shift from being a visitor who is worried about the dark to being someone who knows how to use a simple tarp and a few natural resources to stay safe. When you stop worrying about having the perfect gear and start focusing on beginner bushcraft skills, the woods start feeling a lot less like an enemy and more like a home.
The most common survival mistakes to avoid usually involve over-relying on technology that can fail. Instead, your best move is to practice the basics like boiling water or building a small, warm shelter before you actually need them. You do not need to be a master woodsman right away to feel comfortable outdoors.
Try heading into your backyard this weekend to see if you can set up a basic A-frame shelter or find a way to make cordage from local plants. Real confidence comes from doing, not just reading. Once you have those basics down, you will realize that surviving overnight in the wilderness is more than just a challenge. It is a chance to finally feel at home in the great outdoors.
Every WilderReady guide is researched, written, and fact-checked in-house against trusted references such as the American Red Cross, the National Park Service, and the CDC before it goes live. We publish under this shared byline instead of invented personas, so you always know who stands behind the guidance you are reading.