How to Start a Fire With Wet Wood After Rain, Even When It's Soaked
Yes, you can learn how to start a fire with wet wood after rain, even when it's soaked. The trick is that wet wood is usually only wet on the outside, so you split it open to reach the dry fibers inside.
Most fire guides assume dry conditions, which is why rainy-night fires fail and campers end up trading wet-weather tips in online groups instead.
You'll learn why wet wood refuses to burn, how to find dry tinder, how to build and light a fire on a raised platform, and how to dry your firewood for next time.
Wet wood refuses to burn for a simple reason: the fire has to boil off the trapped water before the wood itself can catch. Heat that should warm you gets spent turning moisture into steam, so the log hisses, the fire runs cooler and dirtier, and your kindling gets smothered instead of fed.
Imagine a camper fresh off a downpour who piles rain-soaked logs onto struggling kindling. Within minutes the pile is steaming, smoking hard, and dead. The wood wasn't bad. It was just carrying more water than a small flame could overcome.
The fix comes down to one number: 20% moisture content. At or below it, wood lights fast and throws real heat. Above it you get more smoke, more harmful PM2.5 particulates, and creosote buildup instead of warmth. That's why firewood researchers at the University of Alaska Fairbanks treat 20% as the line for clean, efficient burning.
Take two armloads of wood from the same campsite pile. The 30% moisture batch smolders and smokes all night. The 18% batch catches fast and throws heat you can cook over. The only difference is the water.
So how do you know where your wood stands? A basic moisture meter costs under $30, fits in any fire starting kit, and answers that in seconds. Push the probes about a quarter-inch into a freshly split face rather than the outer surface, and never test frozen wood.
No meter at camp? Check the end grain for splits up to a quarter-inch wide, then knock two pieces together. Seasoned wood sounds crisp and solid. Green or wet wood sounds dull and muffled.
Treat 20% moisture content as the pass/fail line before any wood goes on your fire.
Test with a sub-$30 moisture meter on a freshly split face, never on frozen wood.
Use the end-grain check plus the knock test when you have no meter at camp: look for quarter-inch splits and listen for a crisp, solid sound.
The 20% Moisture Rule
Why 20% and not 15% or 25%? Below that line, nearly all the fire's energy becomes usable heat and PM2.5 particulates stay low. Above it, evaporation steals BTUs and smoke pollution climbs fast. That balance is why Vermont's Agency of Natural Resources ties dry firewood to both warmth and cleaner air.
Take two armloads from the same campsite pile, one at 30% moisture and one at 18%, and set a pot over each fire. The 18% batch boils water in minutes. The 30% batch smolders, smokes hard, and chases you around the ring with burning eyes. Same night, same wood, and only the water changed.
Test every armload, not just one log, because moisture varies piece to piece in the same pile.
Burn your driest wood first to build a hot coal bed, then feed borderline pieces later.
Three Quick Tests for Dry-Enough Wood
Three quick tests tell you if wood is ready to burn. The most precise is a moisture meter, and basic models run under $30. Push the probes a quarter-inch into a freshly split face, not the outer surface, since the surface only shows the weather. Never test frozen wood, because it reads wrong.
Take a camper who left the meter at home. Flip a log and check the end grain: splits up to a quarter-inch wide mean it has dried and shrunk. Then knock two pieces together, the same field test the University of Alaska Fairbanks firewood project recommends. Crisp and solid means burn it, while dull and muffled means it still holds water.
Test on a freshly split face, never on frozen wood.
Look for end-grain splits up to a quarter-inch wide.
Combine the end-grain check and knock test when you have no meter at camp to get most of the way there.
Finding Dry Tinder and Kindling After Rain
When the whole forest feels soaked, the burnable material is wherever the leaves are not. Leaf litter traps and holds moisture, as campfire safety guidance from Los Alamos County points out, so anything buried under it stays damp for days.
Thin exposed wood is your best bet, because a breezy morning can dry a bare twig within hours. Shelter helps too, since the ground under dense spruce and fir canopies, rock overhangs, and the lee side of big logs often hides dry pockets even after a long storm. And the surest tinder is the batch you packed, so stash cotton balls or a commercial fire starter in a basic fire-starting kit before the trip.
Take a camper who wakes up to a storm-soaked site. The ground is a mat of wet oak leaves, so they skip it completely and work the treeline instead, pulling thin exposed twigs from open patches and small branches off the top of a fallen log. Twenty minutes later, two piles sit on a pack cover: pencil-thin kindling that snaps cleanly, and thumb-thick sticks for the next stage.
The other half of the job is knowing what to leave alone.
Collect thin, exposed twigs and small branches from open ground, bark piles, and the tops of logs, skipping anything half-buried in wet leaves.
Snap-test every stick, because a clean sharp snap means dry enough and a soft bend means keep looking.
Leave standing trees and branches alone, dead or alive, since live wood will not burn and standing dead trees shelter birds and wildlife.
Save big soaked logs for the split-log trick in the next section, since their cores often stay bone dry.
The Split-Log Trick That Saves Wet-Wood Fires
Here's the good news: a rain-soaked log is usually only wet on the outside. Rain soaks the bark and the outer layer of wood, but the inner fibers often stay bone dry, even after hours of steady weather. So the answer to getting burnable wood from a soaked log is simple. Split it open and use the dry middle.
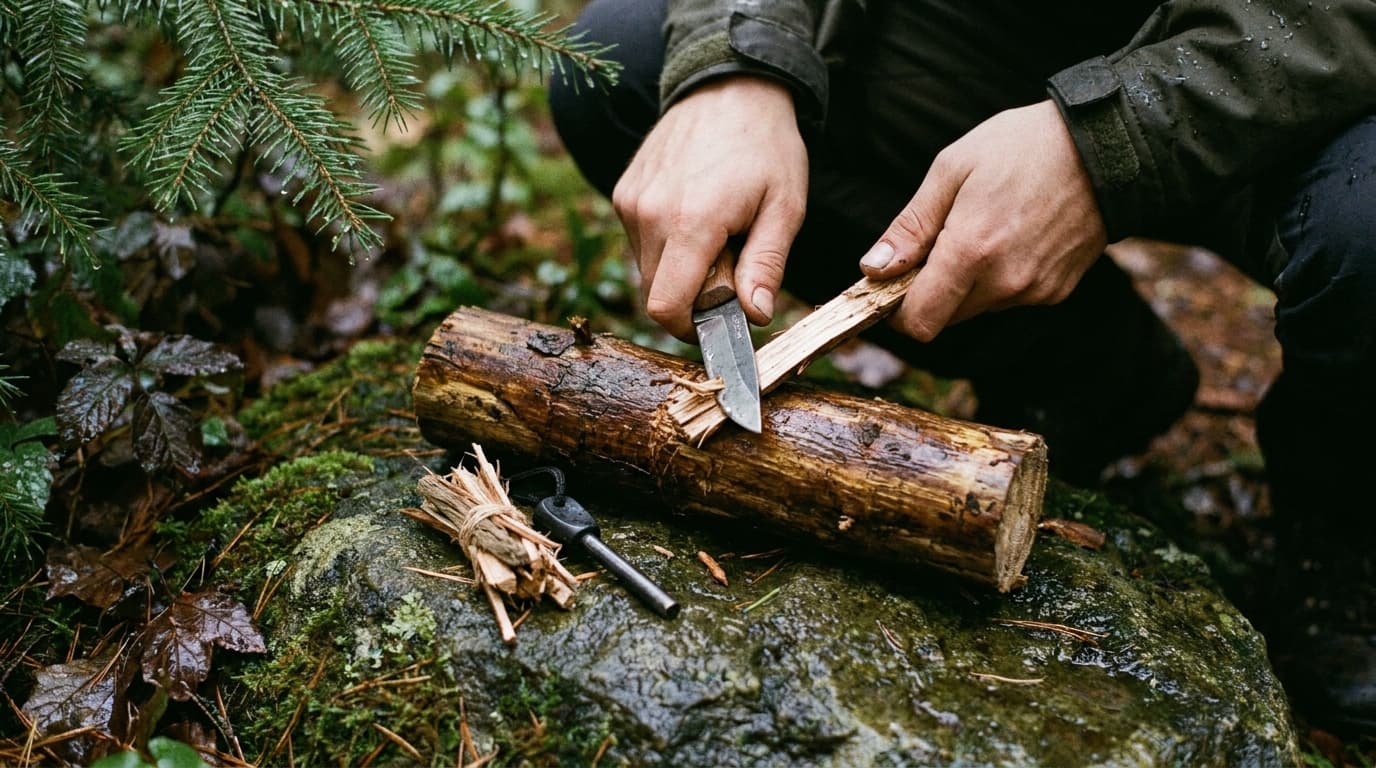
Take a camper with one wrist-thick log and a hatchet. They stand the log on end, set the blade on the top edge, and drive it through with a stick, using the baton method you'd practice in any beginner bushcraft guide. The log pops into quarters, and the inside tells the story: dark, damp wood on the outer faces, pale and dry in the middle. They split those quarters down to kindling size, then press a knife against a dry inner face and shave thin curls that stay attached at the base. Those curls catch a spark almost like purpose-made tinder.
This works even while it's still raining, as long as you split fast and keep the fresh pieces sheltered under a jacket, tarp, or your own body while you work. The clock starts the moment dry wood meets wet air.
Keep every newly split piece off the wet ground by stacking it on your pack, a tarp, or another dry log while you work.
Split at least twice as much wood as you think you need, because a wet-weather fire burns through small dry kindling fast.
Shave your feather-stick curls from the pale inner face only, since outer faces still carry surface moisture.
Feed the fire from the inside of the log outward, lighting the driest core shavings first and adding thicker split pieces as the flame grows.
How to Build a Fire on Soaked Ground
Soaked ground is a heat thief. Mud wicks moisture straight into your fire lay and pulls heat down and away, so a new flame sinks and dies before it ever catches. The fix is a raised platform under the fire and a structure matched to what you need it to do.
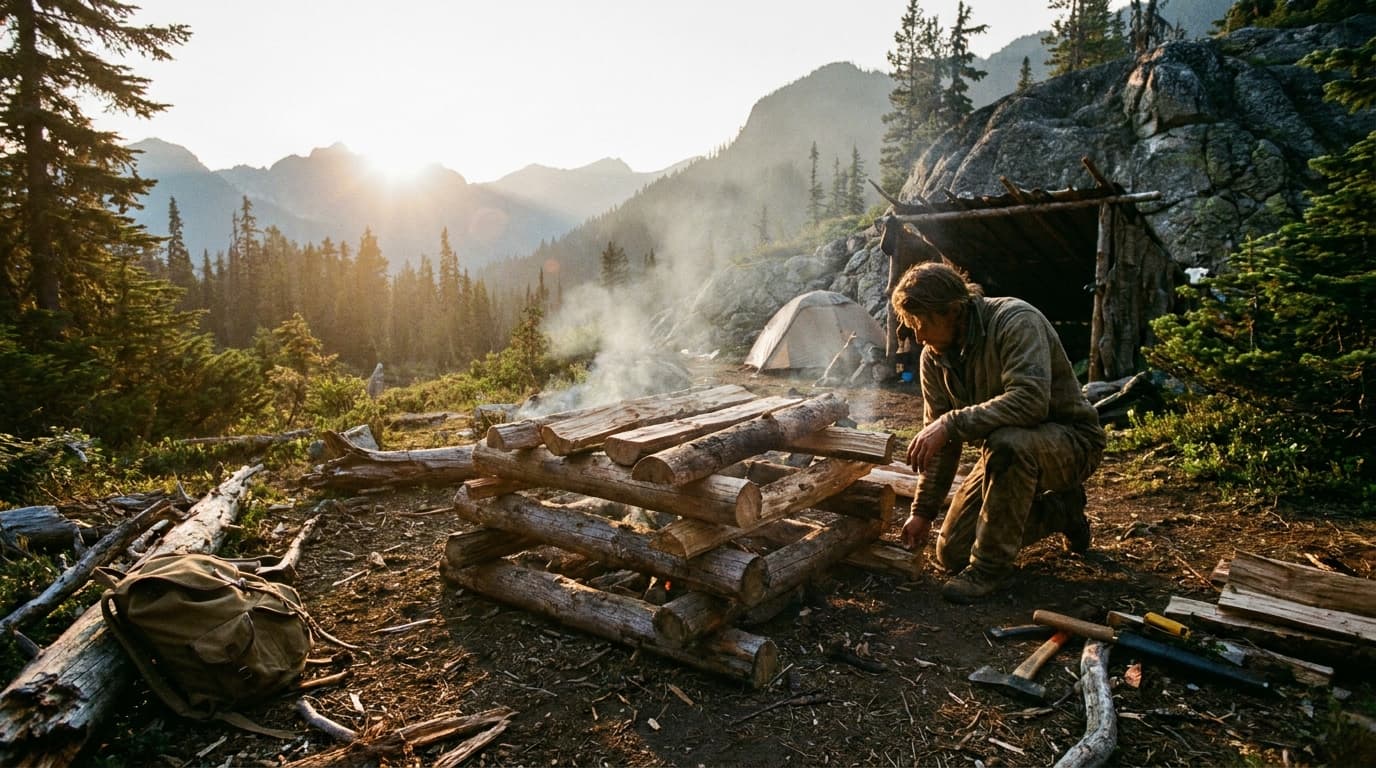
Build the platform before anything else. Lay two or three layers of split logs or thick branches crosswise, raised on rocks if you can find them, and set your tinder bundle on top. Give this a full five minutes before striking a match, because the platform matters more than the size of your wood pile.
Then match the lay to your goal. A teepee or lean-to works best for cooking fires, while a cross or log cabin structure keeps coals going for hours, per campfire safety guidance from Los Alamos County. Angled into the wind, a lean-to even shelters a young flame from drizzle. Decide cooking versus warmth before you stack a single stick.
Picture a camper after an all-night rain. They lay wrist-thick branches side by side as a raft, build a small teepee on it, and get a cooking pot boiling while the ground below stays cold mud. The raft keeps the tinder and kindling dry the whole time.
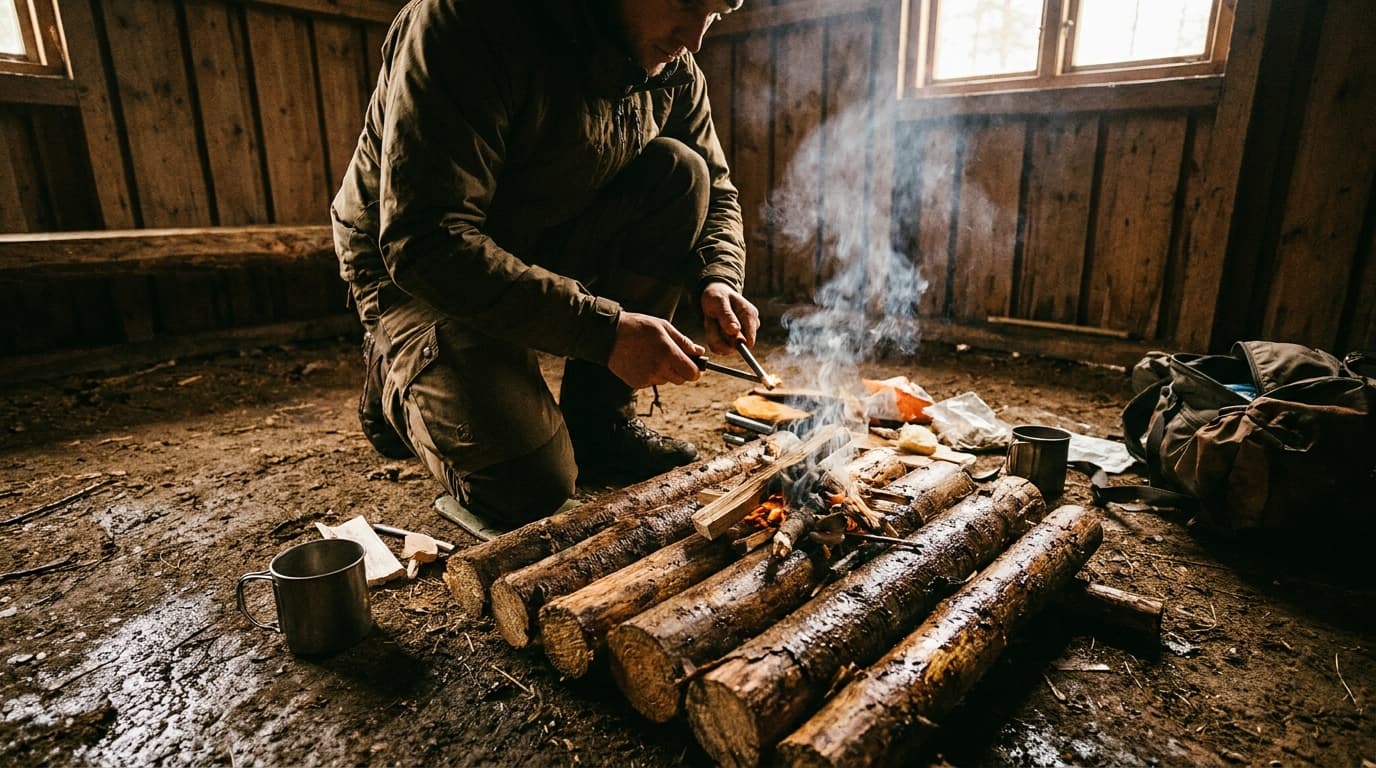
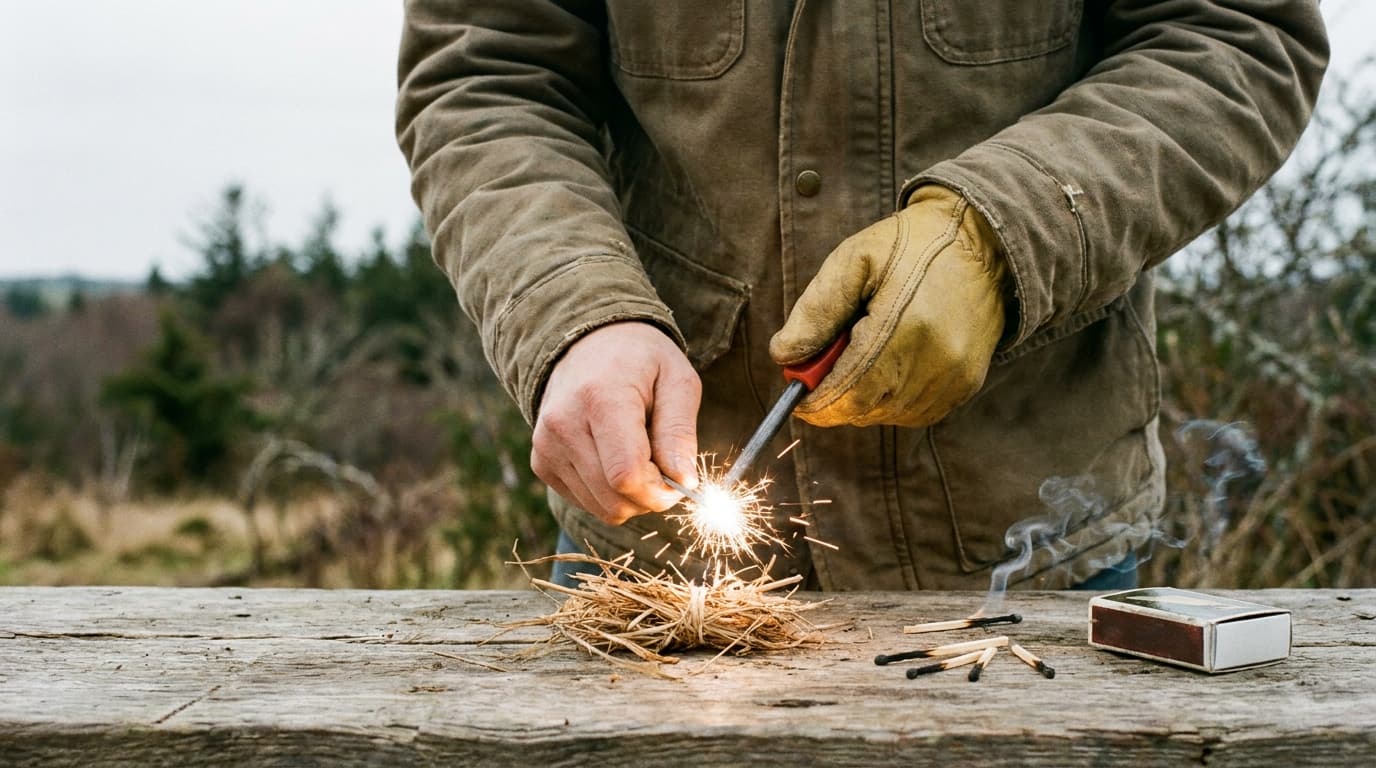
For ignition, tinder goes in the center with kindling smaller than 1 inch around over it. Light the tinder with a match, lighter, or the ferro rod from a simple fire starting kit, but never flammable liquids. Blow lightly at the base to feed oxygen, then add larger wood piece by piece as each stage catches.
Spend five minutes on the platform before striking a match, because soaked ground kills more young fires than wet wood does.
Match the structure to the job: teepee or lean-to for cooking, log cabin for coals that last for hours.
Skip flammable liquids completely, no matter how damp everything looks.
Feed the flame with gentle breaths at the base and add bigger wood gradually, since patience beats accelerant every time.
Build a Raised Platform First
Soaked ground fights you twice. It wicks moisture up into your tinder and kindling, and it pulls heat out of the bottom of the lay. A young flame sitting on cold mud smothers no matter how good your wood is, which is why the platform matters more than the size of your wood pile.
The fix is one armload of wood. Lay two or three layers of split logs or thick branches crosswise, each layer turned across the one below it, and set the raft on flat rocks if any are around. Then build your tinder bundle on top, up off the mud, where the first flames can breathe and climb.
Spend five minutes on the platform before striking a single match.
Lay each layer crosswise so air can move under the fire.
Raise the raft on rocks whenever you can for extra distance from the wet ground.
Pick the Right Fire Structure
Match the lay to the job before you stack anything. A teepee or lean-to burns hot and fast, ideal for cooking, while a cross or log cabin lay burns slow and keeps coals alive for hours, a split backed by Los Alamos County campfire safety guidance.
Picture a drizzly evening. You angle a lean-to into the wind so the slanted sticks shield your young flame while a pot comes to a boil. Want all-night warmth instead? A log cabin lay keeps the coals glowing long after you zip the tent.
Decide cooking versus warmth before you gather wood.
Build a teepee or lean-to when you need a fast boil.
Choose a log cabin or cross lay for coals that last for hours.
Lighting It Without Lighter Fluid
The ignition sequence never changes, and it never involves accelerant. Set your tinder in the center, stack kindling (sticks under 1 inch thick) loosely over it, and light the tinder with a match or lighter only, as Los Alamos County campfire safety guidance recommends. Lighter fluid on damp wood flares fast and dies faster, leaving scorched kindling and zero coals.
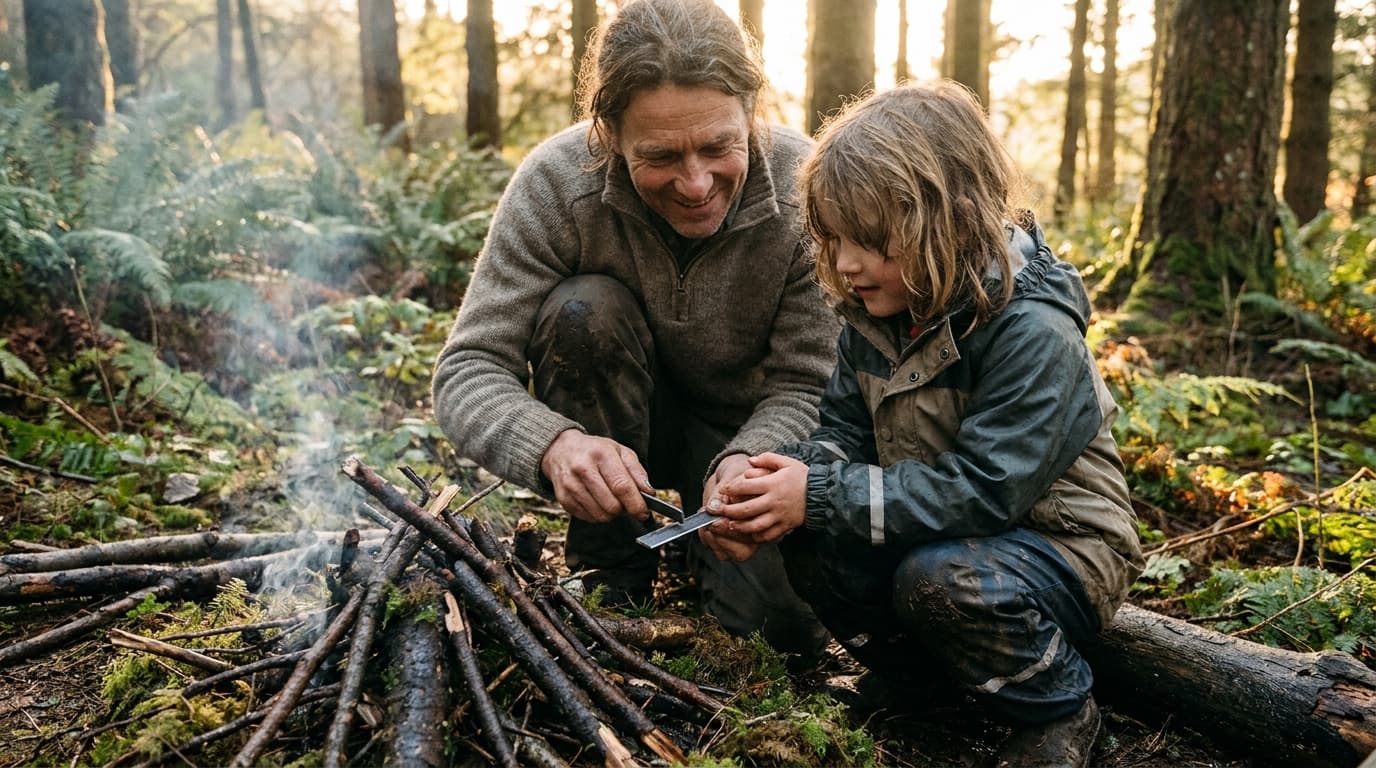
Say the lighter from your fire starting kit catches the shavings and a weak flame flickers. Don't pile wood on. Crouch down and blow gently at the base, pushing oxygen into the hottest spot. Once the kindling crackles, add the next size up, one stick at a time.
Light the tinder only, with a match or lighter, never flammable liquids.
Blow lightly at the base of a young flame to feed it oxygen.
Add bigger wood one piece at a time as each stage catches.
Give a wet fire air and time, because it needs both more than extra fuel.
How to Dry and Store Firewood After Rain
So the rain has passed and you are staring at a soggy pile of firewood. What now? The fix comes down to three moves: split it, stack it off the ground, and cover the top only. Splitting does the heavy lifting, because it opens the damp outer shell and exposes the drier inner wood to moving air, which is what pulls moisture out.
Take a camper who hauls home a truckload of rain-soaked rounds after a stormy weekend. They split each round into quarters, stack the pieces loose on a pair of old pallets, and stop at two layers deep so air keeps moving through the pile. Boards, scrap metal roofing, or a tarp go on top, and the sides stay wide open. This setup matches firewood guidance from Cornell Cooperative Extension: sheltering the top matters more than sun exposure when it comes to keeping off rain and snow.
The hard part is patience. Green wood needs at least six months to dry down to the 20% moisture mark where it burns hot instead of steaming, and shady yards, waterside stacks, and dense hardwoods take even longer. Think of the stack as the slow, free partner to the fire starting kit you keep at home.
Split every round before you stack it, since exposed inner faces dry far faster than whole logs.
Stack on pallets, rails, or scrap lumber so the bottom layer never touches damp ground.
Keep the pile loose and no more than two layers deep so air can move through it.
Cover only the top with boards, metal roofing, or a tarp, and leave the sides open for airflow.
Expect at least six months of drying for green wood, and longer in shade, near water, or with dense hardwoods.
Staying Safe and Putting the Fire Out
The short answer is all of them. Damp ground does not make a campfire safe, because rain only wets the surface while wind, sparks, and dry duff under the leaf litter behave exactly as they would on a dry night. Treat setup and shutdown as essential survival skills for staying safe in the wilderness, not chores you skip when everything looks soaked.
Take a camper who finally gets a flame going after two days of rain. They set the fire at least 15 feet from tents, vegetation, and low-hanging branches, with overhead clearance of at least three times the flame height. Then they clear a 10-foot diameter circle down to bare soil and, finding no ring, dig a pit about a foot deep. That prep matches campfire safety guidance from the Los Alamos Fire Department, and it applies no matter how wet the woods feel.
Shutdown is where tired campers cut corners. Drown the fire, stir the ashes with your shovel, then drown it again. Pour until the hissing stops, because steam means heat is still hiding in the coals.
Keep a bucket of water and a shovel within arm's reach for the whole life of the fire, not just when you are ready to leave.
Clear a 10-foot circle to bare soil before striking a match, and dig a 1-foot pit if no established ring exists.
Drown, stir, and drown again, since one splash rarely reaches the hot coals buried at the bottom.
Hold the back of your hand just above the ashes, because if it is too hot to touch, it is too hot to leave.
Never bury coals under dirt or sand, since buried embers can smolder for hours and flare up after you walk away.
Questions Campers Actually Ask About Wet-Wood Fires
The follow-up questions always come once the basics click. Here are the ones campers actually ask, answered fast.
Can you start a fire with wet wood at all? Yes, if dry wood exists inside it. Rain soaks the outer layer, so split the log and shave tinder from the pale inner face. Punky or rotten wood will not burn no matter what you try.
Is lighter fluid a fair shortcut on damp days? No. Flammable liquids flare up out of control and can end a trip in seconds, and fire safety rules say ignition comes from a match or lighter on dry tinder, nothing else.
How can you tell found wood is dry enough? Knock two pieces together. Seasoned wood gives a crisp, solid sound while green wood sounds dull, and the University of Alaska Fairbanks firewood project adds that quarter-inch checks in the end grain are another good sign.
Take a camper on a second rainy night with one bundle of half-dry splits. They burn a third of it and lean the rest near the heat, so the next armful catches on the first match. A ferro rod and hatchet from a solid fire starting kit make the whole thing repeatable.
Knock two pieces of found wood together and listen for a crisp crack, not a dull thud.
Skip gasoline and lighter fluid every single time, no matter how wet the woods look.
Lean wet splits near the flames so the heat pre-dries your next round of fuel.
Shave tinder from the dry inner face of a split log whenever the surface feels damp.
Your Next Fire After the Rain
Everything here comes down to one idea: wet wood fails because of moisture, not bad luck. The fix is reaching the dry wood that already exists. Split logs open, gather sticks clear of leaf litter, build on a raised platform, and light patiently.
Picture your next campsite after a night of rain. You quarter one soaked log, shave curls from the pale inner face, and set them on a wrist-thick raft of branches. It catches fast because you remembered the one number that matters: 20% moisture content is the line between a smoky mess and real heat.
Practice the split-log technique at home on a dry weekend so every motion feels automatic when it rains.
Pick up a sub-$30 moisture meter and test a freshly split face, as Cornell's firewood extension guide recommends, and you will never have to guess again.
Yes, but it depends on what "completely wet" really means. A log soaked by a night of rain is usually only wet in the outer inch or so, and the core can stay dry for days. A log that sat in a puddle for a week is wet all the way through, and no trick will make it burn.
Two quick tests tell you which one you're holding. Knock two pieces together: dry-ish wood gives a sharp clack, while saturated wood gives a dull, heavy thud. Or press a thumbnail into a freshly split face. If water beads up or the wood dents like a sponge, it's waterlogged, so grab a different log instead of fighting that one.
Smoke is unburned fuel. Wood releases flammable gases as it heats up, and a hot fire ignites those gases before they can escape. Wet wood keeps everything cooler because the fire spends its energy boiling off water first, so the gases drift away unburned. That gray cloud is basically wasted firewood.
The color tells you how the fight is going. Thin, white, wispy smoke is mostly steam, which means the fire is winning and drying the wood out. Thick, dark smoke means it's losing and needs more heat or smaller fuel. Once the smoke turns faint and bluish, the wood is burning clean. Also, wet-wood smoke is rougher on your eyes and lungs than a normal campfire, so stay upwind until it clears.
It depends on what you're starting with. Fresh-cut green wood needs 6 to 12 months of air drying. But seasoned firewood that just got rained on is a different story. Split it and stack it off the ground in a breezy spot, and it's usually ready in a few days to two weeks of dry weather. Pine and other softwoods dry fast. Dense hardwoods like oak hang onto water much longer.
Here's the thing most people miss: rain mostly soaks the outer inch of wood, so split pieces dry way faster than rounds because you've exposed the inside. And don't guess at dryness. A cheap moisture meter should read under 20 percent. No meter? Bang two pieces together. Dry wood gives a sharp crack, wet wood gives a dull thud. You can also smear dish soap on one end of a split piece and blow through the other end. If bubbles form, air is moving through the wood, which means it's dry enough to burn.
Split it small, then rotate it near your fire. Kindling-sized pieces propped around the fire's edge, not in it, can go from damp to burnable in about 20 to 30 minutes if you keep turning them like a rotisserie. A flat rock or a second log makes a decent drying rack, and low, steady heat beats a roaring flame for this.
No fire going yet? Your car is secretly a drying machine. Lay wood on the dashboard in the sun, or stick it near the heater vent with the fan on high. Small tinder bundles can even ride in an inside jacket pocket, where body heat slowly pulls the dampness out. One mistake to avoid: don't shove wet wood straight into the flames hoping it'll catch. It just smothers your tinder and makes a pile of smoke. Dry it beside the heat first, then feed it in.
Conclusion
So here's what it all comes down to. Starting a fire with wet wood after rain is really about getting past the soaked outer layer to the dry wood hiding inside. Split your logs open, gather sticks that stayed clear of the leaf litter, build everything on a raised platform off the wet ground, and feed the young flame air and time instead of accelerant. And keep one number in your head: 20% moisture is the line between a smoky mess and real heat.
Your next move is an easy one. On some dry weekend at home, practice splitting a log and shaving curls from the inner face until the whole thing feels routine. Grab a moisture meter while you're at it, since they run under $30 and take the guesswork out of every trip after that.
The next time rain rolls through camp, you won't be the one staring at a pile of steam. You'll be the one with a fire going.
Every WilderReady guide is researched, written, and fact-checked in-house against trusted references such as the American Red Cross, the National Park Service, and the CDC before it goes live. We publish under this shared byline instead of invented personas, so you always know who stands behind the guidance you are reading.