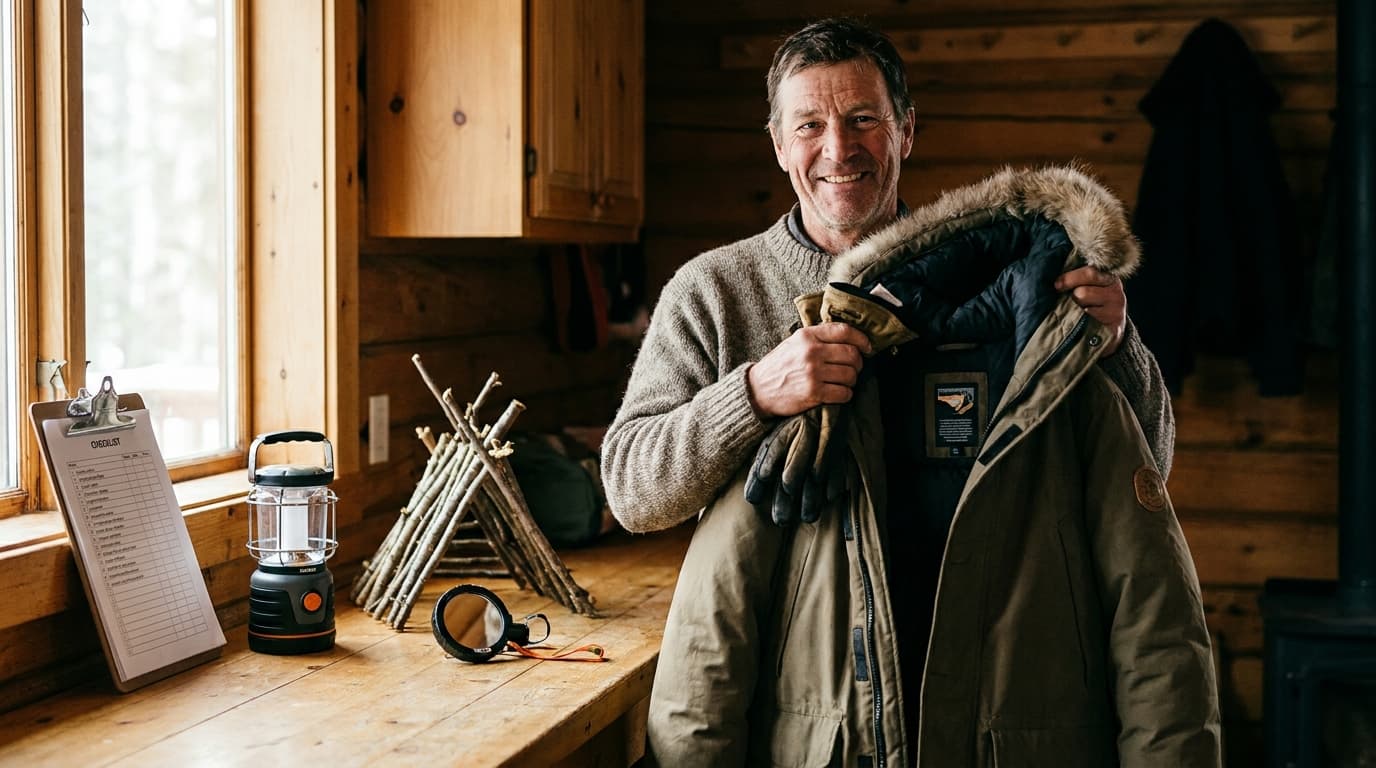
Stuck in the Wild? How to Survive When Everything Goes Wrong
Imagine you took a wrong turn on a hiking trail and the sun is starting to dip below the trees. You have no cell service and no heavy gear in...
Maya Bennett
Preparedness Coach & Survival Systems Editor

Stuck in the Wild? How to Survive When Everything Goes Wrong
Imagine you took a wrong turn on a hiking trail and the sun is starting to dip below the trees. You have no cell service and no heavy gear in your pack. It sounds like a movie plot, but real-life survival scenarios happen to normal people every single day. You don't need a fancy bug out bag to make it through the night because your brain is actually your best tool when things go south.
This guide shows you how to find water and stay warm using just what you find in the woods. You will learn how to purify river water without a filter and build an emergency shelter for one person with a tarp. We also cover how to find north without a compass at night and how to treat a deep cut in the woods without a kit so you can stay safe until help arrives.
We are breaking down the basics of keeping yourself alive and healthy in the wild. From building DIY filters to finding the North Star, you will get the skills to handle the unexpected. Let's look at how to turn a scary situation into a story you will live to tell.
Why You Can't Just Drink From That Stream
You are out there, the sun is beating down, and you finally spot a stream. It looks crisp and clean, but do not let appearances fool you. You can only survive about three days without fresh water in a survival situation, so finding a source is non-negotiable. However, drinking straight from that stream is a massive gamble. Bacteria and parasites are often invisible to the naked eye, and a single sip of contaminated water can put you in a dangerous spot faster than the thirst itself. What looks like a refreshing drink could actually be a cocktail of microscopic threats.
It is important to understand the difference between filtering and purifying. Think of filtration as the physical step that removes the big stuff you can see. When you use materials like sand, charcoal, and rocks, you are stripping away the debris and sediment. This makes the water look better, but it does not make it safe to drink yet. Purification is the second step - the one that actually kills the invisible bugs. You need both to truly stay safe in the wild, because clear water is not always clean water.
If you are stuck without a store-bought filter, you can build one from scratch using a cone-shaped container like a plastic bottle or even a large piece of bark. Layer it with rocks at the top, sand in the middle, and crushed charcoal at the bottom. The charcoal is a lifesaver because it helps trap impurities that sand might miss. If you have absolutely nothing else, even a T-shirt or a bundle of cloth is your next best thing. It will not be perfect, but it gets the grit out before you move to the next stage of treatment.
Once your water is clear of debris, it is time for the five-minute rule. Boiling is the most reliable way to make sure your water is safe. You want to see big, rolling bubbles for at least five minutes straight to ensure microorganisms are killed. Once that is done, let it sit and rest for another five minutes. This cools the water down and ensures the heat has done its job. If you do not have a pot, you can use a metal canteen or even a glass jar if you are careful about how you place it near the fire.
Sometimes you might have chemical tablets in your pack, often containing iodine, chlorine, or potassium permanganate. These are great backups, but they take time to work. Whether you are boiling or using chemicals, the key is patience. It might be tempting to rush when you are thirsty, but taking those extra ten minutes to properly treat your water is the difference between a successful trek and a medical emergency. What does this mean for you? It means always having a plan for both filtering and purifying before you take that first sip.
Key insights:
- Physical filtration through sand and charcoal removes debris but does not eliminate bacteria.
- A person cannot survive more than three days without fresh water in a survival scenario.
- Water must be boiled for at least five minutes to ensure it is safe to consume.
- Everyday items like T-shirts can be repurposed as emergency filters for sediment removal.
Building a Filter From Scratch
You won’t last more than three days if you’re stuck in the wild without fresh water. It is a sobering reality that hits hard when you are staring at a murky stream with no supplies. While you might be searching for how to purify river water without a filter, building an improvised one is your best first step to remove grit and debris. Think of it as an essential pre-treatment that makes the next steps much easier.
To start, you need a container to act as a cone. A plastic bottle with the bottom cut off is ideal, but you can also use large leaves or bark in a pinch. Pack the bottom tightly with moss or a scrap of cloth to keep your materials inside. Then, layer in crushed charcoal from a campfire, followed by fine sand and small rocks. This stack acts like a sieve, catching physical hazards as the water trickles through the layers.
If you have no materials at all, your own gear can save you. A T-shirt or a bundle of cloth is your best backup filter. It will not make the water crystal clear, but it beats drinking straight mud. Just keep in mind that physical filtration is only stage one. Even if the water looks clean, you still need to boil it for at least five minutes to kill the invisible microorganisms that can make you sick.
Key insights:
- Physical filtration through sand and charcoal removes debris but does not fully purify water.
- A survival filter requires a cone-shaped container layered with rocks, sand, and charcoal.
- Always boil filtered water for five minutes to ensure all bacteria and viruses are killed.
The Five-Minute Rule for Boiling
You’ve found a stream and the water looks crystal clear. But don't let looks fool you. Even pristine-looking water can be packed with invisible bugs that will make you sick. Since you won't last more than three days without fresh water in the wild, getting this purification process right is a major survival priority.
First, make sure the water is clear of dirt. If you don't have a pot, look for a discarded metal can or even a hollowed-out piece of wood. Get a fire going until you see big, rolling bubbles. You need to keep that boil going for at least five full minutes to kill off microorganisms that simple sand or charcoal filters might miss.
Once the time is up, move the container away from the flames. Let it rest for another five minutes. This rest period lets the heat finish its work and makes the water cool enough to actually drink. Remember, while physical filters remove the grit, only heat or chemicals like iodine truly make the water safe for your gut.
Key insights:
- Visual clarity does not equal safety; microorganisms require heat or chemical treatment.
- The process requires five minutes of active bubbling followed by five minutes of cooling.
- Survival requires improvisation; metal cans or natural materials can substitute for a cooking pot.
One Tarp and a Prayer: Building Your Emergency Home
Imagine you’re deep in the woods as the sky turns a bruised purple and the wind starts to bite. In that moment, the lightweight tarp in your pack becomes the most important thing you own. It isn't just a piece of plastic; it is your bedroom, your kitchen, and your first line of defense. While a tent dictates where you sleep, a tarp works with the land you have. It is the best tool for survival because it is adaptable, light, and surprisingly easy to fix if things go sideways.
When you start building, you usually have two main choices: the lean-to or the A-frame. Think of the lean-to as a quick shield. It is perfect if the wind is coming from one direction and you need to get dry fast. But if the weather is swirling or the temperature is dropping, the A-frame is your best bet. It creates a small, enclosed pocket that holds onto your body heat much better than an open-sided structure. You don't need fancy metal stakes either. Look around for heavy rocks or sturdy trees to act as natural anchors. The goal is tension. A sagging tarp collects water, and in a survival scenario, you want to control where that water goes. You can even angle the corners to funnel rain into a container, which is vital since you won't last more than three days without fresh water.
But here is a secret: once the roof is up, your biggest enemy isn't the air - it's the ground. The earth is a massive heat thief that will pull the warmth right out of your body through conduction. This is why building a ground bed is non-negotiable. You need a thick barrier between you and the cold floor to survive the night comfortably. If you just lay your tarp on the dirt, you'll be shivering by midnight no matter how good your roof is.
Gather everything crunchy or fluffy you can find, like dry leaves, pine needles, or ferns. You want a pile at least six inches thick because it will compress once you lay down. Think of it as a primitive mattress that creates pockets of dead air. This trapped air acts as a buffer, keeping your body heat where it belongs. If you are still feeling the chill, you can even stuff these materials inside your jacket for extra insulation. By sealing off the ends of your shelter and piling up this natural debris, you turn a simple sheet of plastic into a cozy, insulated cocoon that can get you through the toughest conditions.
Remember that survival is about multi-tasking. While your tarp keeps you dry, use your fire to boil any water you've collected. Experts suggest letting water bubble for at least five minutes to ensure it is safe to drink. Whether you are filtering through a T-shirt or using chemical tablets with iodine, staying hydrated and staying warm are two sides of the same coin. A well-built shelter gives you the dry space you need to manage everything else.
Key insights:
- A tarp can act as both a shelter and a water collection system to meet the three-day survival rule.
- The ground steals more body heat than the air, making a thick bed of leaves essential.
- Boiling water for five minutes is the most reliable way to kill microorganisms in the wild.
- A-frame configurations are superior for heat retention compared to simple lean-tos.
Staying Warm When the Temperature Drops
When the sun goes down in the wild, the cold becomes your most immediate threat. You might think a roof over your head is the priority, but the real danger is actually right beneath you. Dirt is a notorious heat thief. Because of how conduction works, the cold ground will literally suck the warmth out of your body much faster than the air ever could. This is why building a thick ground bed is the most important part of staying warm in a survival shelter overnight.
Think of it this way: you need a barrier. Piling up a massive layer of dry leaves, pine needles, or even soft boughs creates a cushion of air between you and the frozen earth. This natural insulation works just like the feathers in a puffer jacket. The more loft you have, the better. You want at least six to eight inches of compressed material to ensure you aren't losing your core temperature to the soil.
The secret to staying cozy is all about trapping air. While survival priorities like finding water are crucial - since you won’t last more than three days without it - keeping your heat is the battle you have to win right now. Keep your shelter small. A tiny space is easier for your body to heat up. By layering natural materials and closing off gaps, you create a pocket of warm air that acts as a life-saving shield against the night chill.
Key insights:
- Never sleep directly on the ground; always build an insulation layer of at least six inches.
- Dry leaves and pine needles are excellent for trapping 'dead air' which holds your body heat.
- A smaller shelter is much more efficient at staying warm than a large, roomy one.
Patching Yourself Up Without a First Aid Kit
Imagine you are deep in the woods and a sharp branch catches your leg. It is a deep cut, and you suddenly realize your first aid kit is sitting on your kitchen counter miles away. This is the moment where panic usually sets in, but you have to stay focused. Your immediate goal is straightforward: stop the bleeding and prevent infection. In a survival situation, time is your biggest enemy. Just as you cannot survive more than three days without fresh water, a serious wound can end your journey even faster if you do not act quickly.
The first thing you need to do is look at what you are wearing. A clean T-shirt or a cotton bandana is your best tool right now. Rip a long strip of fabric and place a thick wad of the cleanest cloth you have directly over the wound. Apply firm, steady pressure with your hands. Do not keep lifting the cloth to check if the bleeding has stopped, because that breaks the clots that are trying to form. If the blood soaks through, just add another layer of cloth right on top. This improvised pressure bandage is your primary defense against blood loss.
You might remember hearing that rubbing dirt or certain forest moss into a wound helps it heal. Please, do not do that. Old wives' tales like using tobacco or debris from the forest floor usually just introduce dangerous bacteria and lead to nasty infections. We know from water purification facts that microorganisms are invisible threats that can ruin your health. The same logic applies to your skin. If you have any water you have already boiled for five minutes to kill germs, use a little bit of it to rinse the dirt out of the wound before you wrap it up.
Here is the reality of survival: it is about making the best of the items you have on hand. While you might not have a sterile gauze pad, a clean undershirt is a solid substitute. Think of this as a two-part process. First, you stop the physical threat of losing blood. Second, you protect the area from the elements until you can get professional help. What does this mean for you? It means staying calm and using your gear creatively. Once the bleeding is under control, you can focus on your next survival priority, like finding a way to stay warm or purifying your next drink of water.
Key insights:
- Prioritize pressure over everything else to stop active bleeding immediately.
- Use inner layers of clothing like undershirts because they are usually cleaner than outer layers.
- Avoid putting natural materials like dirt or unwashed leaves into a cut to prevent infection.
- Rinse wounds only with purified or boiled water if you have it available.
Finding North When Your Compass Is Gone
You are standing in the dark, the woods are quiet, and you realize your compass is gone. It is a moment that tests your nerves, but do not panic. The night sky is basically a giant, glowing navigation system that never runs out of batteries. While you might be thinking about the survival rule that you can only last three days without water, you will never find a stream if you are just walking in circles. Finding your way is the first step to staying calm.
Your main target is Polaris, the North Star. It is the only star in the sky that stays put while everything else rotates, making it a perfect anchor. To spot it, find the Big Dipper first. Look at the two stars forming the outer edge of the cup. If you draw a line through them and extend it out about five times the distance between them, you will land right on Polaris. Face that star, and you are looking north. It is a quick trick that works every single time the sky is clear.
But what happens when the clouds move in and hide your guide? You have to get creative with alternative cues. Look at the trees around you. In the northern hemisphere, the south side of a tree usually gets more sun, often leading to thicker, longer branches. Also, think about the wind. If you noticed it was blowing from the west before the sun went down, use that pressure on your cheek to keep your bearings. It is not as precise as a star, but it keeps you from spiraling in the woods.
Survival is really about staying calm and using what you have. Once you find your direction, keep an eye out for water sources, since staying hydrated is just as vital as staying on track. If you find a stream, remember that you should boil that water for at least five minutes to keep it safe. Navigation gives you the path, but meeting your physical needs keeps you moving along it. What does this mean for you? It means you have the tools to get home even when your gear fails.
Key insights:
- Polaris is the only stationary star, making it the most reliable night guide.
- The 'pointer stars' in the Big Dipper cup lead you directly to the North Star.
- Natural cues like branch thickness and wind direction can substitute for stars on cloudy nights.
- Directional awareness must be paired with survival priorities like finding and boiling water.
The DIY Survival Mindset: Repurposing Everything
Imagine you are stuck in the woods with nothing but the junk in your pockets or what you find on a trail. Most people see a discarded soda can as litter, but in a survival situation, that can is a boiling vessel or a signal mirror. This is the DIY survival mindset. It is not about having the most expensive gear. It is about looking at a plastic bag and seeing a way to collect rainwater or a T-shirt and seeing a water strainer. You have to be creative because your life depends on it.
There is a big trend right now around building specialized Bug Out Bags that include multi-stage water treatment options. While those kits are great, you need to know how to improvise if they fail. For example, did you know you can only survive about three days without fresh water? That is not much time. If you find a river, you might think a quick filter through a cloth is enough. It is a good start, but if you are learning how to purify river water without a filter, remember that physical straining is just the start. Sand and charcoal filters remove the dirt, but you still need to boil that water for at least five minutes to kill the microorganisms that make you sick.
Gear is only as good as the person using it. You can carry iodine or chlorine tablets, but do you know the right dosage? Think of it this way: a fancy filter is useless if it breaks and you do not know how to build a DIY version using layers of moss, sand, and charcoal. Practice is always better than gear. If you are stuck, you might have to build an emergency shelter for one person with a tarp or use a bundle of cloth to strain out river muck. The goal is to stay warm and hydrated until help arrives. It is about being resourceful when everything goes wrong. What would you do with the items in your pockets right now?
Key insights:
- Physical filtration through sand or cloth is only the first step and does not kill bacteria.
- Boiling water for five minutes is the most reliable way to ensure it is safe to drink.
- A DIY survival mindset prioritizes skills and practice over expensive, specialized equipment.
Frequently Asked Questions
Conclusion
So, what is the big takeaway here? Survival is less about having a backpack full of gadgets and more about how you think when things get messy. Whether you are figuring out how to find north without a compass at night or building an emergency shelter for one person with a tarp, the goal is always the same: stay calm and use what is around you. You now know that a dirty stream can become safe water and a simple piece of plastic can keep you alive through a freezing night.
The real secret is that these skills are not just for extreme situations. They are about being prepared and feeling confident when you step off the trail. Your next move should be to get hands-on. Try building a ground bed in your backyard or practice how to stay warm in a survival shelter overnight before you actually need to do it for real.
You are a lot tougher and more capable than you probably realize. Keep this knowledge in your back pocket, stay observant, and always respect the woods. You have what you need to make it back home.
Send it to someone who should read it next.
About the author

Maya Bennett
Preparedness Coach & Survival Systems Editor
Builds practical checklists, kits, and preparedness routines that help beginners turn emergency planning into repeatable action.
View all articles