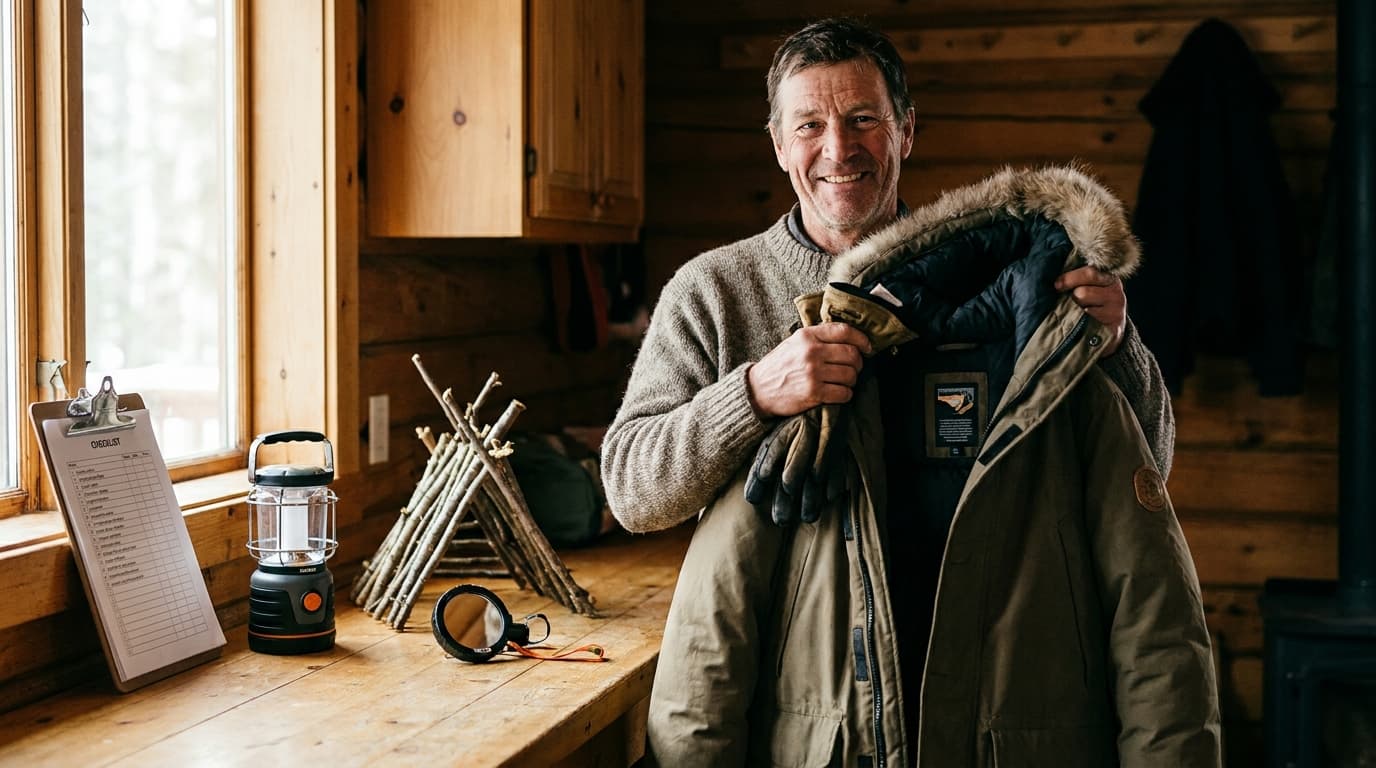
No Sleeping Bag? No Compass? How to Survive When Your Gear Fails
Imagine you're deep in the woods, the sun is dipping below the trees, and you suddenly realize your sleeping bag is gone or your compass just broke. That 'oh no'...
Maya Bennett
Preparedness Coach & Survival Systems Editor

No Sleeping Bag? No Compass? How to Survive When Your Gear Fails
Imagine you're deep in the woods, the sun is dipping below the trees, and you suddenly realize your sleeping bag is gone or your compass just broke. That 'oh no' moment is enough to make anyone's heart race, but it doesn't have to be the end of your trip. While high-tech gear is nice to have, your own skills are what truly keep you safe when things go wrong.
Learning how to handle these Survival Scenarios is about being resourceful with whatever nature provides. We'll show you how to stay warm at night without a sleeping bag by using forest debris and what to do if you get lost hiking without a compass using only the sun. It's all about shifting your mindset from relying on a backpack to relying on your brain.
This guide also covers how to purify water without a filter in the wild and how to start a fire with wet wood in the rain even when everything feels soaked. We'll even walk through essential bushcraft knots for securing an emergency tarp so your shelter stays put. You're a lot more capable than you think, and these simple techniques will help you stay prepared for anything.
Staying Warm When Your Sleeping Bag Is Miles Away
Imagine the sun going down and realizing your sleeping bag is miles away. It is a heavy feeling, but you have options. Most people think the cold air is the main enemy, but it is actually the ground. It pulls the heat right out of your body through conduction. To fight this, you need a thick barrier. Think of it as building a natural mattress. Also, keep your shelter small. A tiny space is much easier for your body heat to warm up than a large, drafty one.
This is where the leaf sandwich comes in. Pile up dry leaves, pine needles, or grass at least a foot high. When you lay on it, the pile will compress, so start with more than you think you need. This creates loft, which traps air and keeps you off the cold earth. Just a heads up: poke the pile with a stick first to make sure no critters are hiding inside. If you have extra clothes, use them as a blanket or stuff them into the gaps of your leaf bed for extra padding.
If you have a fire, you have a heater. Find smooth, dry rocks and let them sit near the edge of the embers. You want them warm, not burning hot. Wrap them in a shirt and tuck them near your feet. This is a classic trick shared by survival groups like WoodsBound Outdoors because it works. But remember that staying dry is 90% of the battle. If you get sweaty while building your bed, you will lose heat faster, so move steadily and stay dry.
Key insights:
- The ground is a heat thief; always prioritize insulation underneath you over a roof above you.
- A foot of loose debris usually compresses down to just a few inches of actual insulation.
- Warm rocks act like natural hot water bottles when wrapped in cloth and placed near your pulse points.
The Leaf Sandwich: Insulation 101
Imagine the sun is setting and you have no sleeping bag. To stay warm, you must become the filling in a leaf sandwich. Pile up dry leaves at least two feet deep to create loft. This trapped air is what holds your body heat. WoodsBound Outdoors suggests this because it mimics gear using forest debris. Just poke the pile with a stick first to check for critters.
Use your extra clothes wisely too. Instead of wearing everything, stuff some into the pile to fill gaps. These tricks are popular in bushcraft circles because they focus on using what you have. It is all about staying insulated until the sun comes up.
Shared Heat and Hot Rocks
Ever wonder how people survived before high-tech sleeping bags? They used the earth itself. One classic trick involves warming smooth rocks by your fire. You do not want them scorching - just warm enough to hold comfortably. Bury these under a thin layer of soil where you plan to sleep. It creates a heated floor that radiates warmth all through the night.
But here is the real secret: staying dry is 90% of the battle. Experts from WoodsBound Outdoors point out that moisture kills your core temp faster than the air does. While you are improvising heat, keep your clothes dry. What good is a warm rock if your base layer is soaked? It is all about using what you have to stay ahead of the cold.
Key insights:
- Warmed rocks act as a natural radiator when buried under your sleeping area.
- Moisture management is more critical for survival than the actual heat source.
Finding Your Way Back When the Compass Stays Home
Imagine the moment your stomach drops because the trail suddenly looks unfamiliar and your compass is sitting on your kitchen counter. It happens to the best of us. Before you take another step, remember the S.T.O.P. rule. This stands for Sit, Think, Observe, and Plan. Panic is your biggest enemy in the woods because it leads to fast, bad decisions that burn through your energy. Taking five minutes to just breathe and look around can literally save your life. It is the first step in moving from a victim of the woods to a survivor.
While you might have seen quick survival tips on Facebook Reels or in beginner bushcraft groups, applying them in the wild requires a calm head. You can find your general direction by watching the sun. It rises in the east and sets in the west, which sounds simple until you are under a thick canopy. People often say moss only grows on the north side of trees, but that is a bit of a myth. Moss likes shade and moisture, which can be found on any side depending on the local terrain. Instead of trusting a single patch of green, look at the overall growth patterns of the forest. Trees on the southern side of a slope often have fuller branches because they get more sunlight. This matters because these natural signs are always there if you know how to read them.
If you need more precision than just looking at branches, try the shadow-tip method. You do not need any fancy gear for this. Just find a straight stick about three feet long and clear a patch of level ground. Poke the stick into the earth so it stands upright and mark the very tip of its shadow with a small stone. Now, you wait. This is a great time to check your surroundings or think about your next move.
Give it about fifteen minutes for the sun to move. The shadow will creep along the ground as the earth rotates. Mark the new position of the shadow tip with another stone. If you draw a line between those two marks, you have a rough east-west line. The first mark is always west and the second is always east. Stand with the first mark to your left and the second to your right, and you are facing north. It is a reliable, zero-gear way to get your bearings when your tech fails and the woods feel too big.
Key insights:
- The S.T.O.P. rule is your most important tool for preventing small mistakes from becoming life-threatening ones.
- Natural indicators like moss can be misleading, so always look for multiple signs like branch thickness or sun position.
- Modern social media communities are making these survival skills more accessible than old-school manuals ever did.
- The shadow-tip method provides a reliable east-west axis using only a stick, two stones, and fifteen minutes of time.
The Stick and Shadow Trick
Lost your compass? Don't worry. You can find your way using just a stick and the sun. This shadow-tip trick works because the sun is reliable, even when your gear is not.
Poke a straight stick into the ground and mark the shadow's tip with a pebble. Wait 15 minutes for the shadow to move and mark the new spot. The line between those marks runs east to west. Your first mark is west and the second is east. Just like that, you have your directions.
These skills are making a big comeback in online groups and short videos. This trend toward using what you have shows that survival is about being smart. When you can improvise, you can stay calm and get home.
Key insights:
- The shadow-tip method provides cardinal directions in 15 minutes with zero equipment.
- Modern survival education is shifting from long manuals to accessible, short-form digital content.
The Art of Drinking Water That Won't Make You Sick
You see a crystal clear mountain stream and think you are safe. But the reality is that looks are deceptive in the wild. Even the most pristine water can carry invisible bacteria or parasites that will ruin your trip faster than a sudden rainstorm. While modern filters are great, many hikers are now looking for limited gear strategies to stay self reliant. This trend is growing in online bushcraft groups where beginners learn to survive with almost nothing but their wits.
Boiling remains the gold standard for purification because it kills off the nasty stuff that makes you sick. But what if you lost your metal pot or never had one to begin with? You have to get creative. You might find a discarded plastic bottle or even use a hollowed out log to hold your water. It sounds impossible to boil water in plastic without melting it, but the science of heat transfer makes it work as long as the flames do not touch the dry parts of the container.
When you are using a wooden trough or a plastic container, the rock boil method is your best bet. You heat smooth stones in a fire for about half an hour and then drop them into the water one by one using a pair of notched sticks. But wait, you have to be careful about which rocks you pick. Never use stones from riverbeds or damp areas. Trapped moisture inside those rocks can turn into steam and cause them to explode like a grenade when they get hot. Stick to dry field stones instead.
Keep adding hot stones until the water reaches a steady, rolling boil. You want to see it bubbling for at least a full minute to be sure it is safe. This technique is a staple in the short survival videos that are so popular right now because it shows exactly how to handle a crisis with zero equipment. It is all about using what you have around you to stay healthy and hydrated when things go wrong.
Key insights:
- Visual water clarity is no guarantee of safety from bacteria.
- Boiling is the most effective way to purify water without commercial filters.
- Avoid wet rocks for boiling as they can explode when heated in a fire.
The Rock Boil Method
What do you do when you have water but no filter? The rock boil method is a classic survival trick for when your gear fails. You are essentially using fire-heated stones as portable burners to get the job done. If you have a hollowed-out log or even a plastic bottle, you are in business. Just heat several small stones in your fire until they are scorching hot.
But watch out for which rocks you grab. Never take stones from a river or damp ground because trapped moisture can make them explode like shrapnel once they get hot. Use a pair of sticks as tongs to drop the dry, hot stones into your container. You want to keep the water bubbling steadily for at least a full minute to kill off anything that could make you sick.
Social media groups are currently full of people rediscovering these skills through quick videos and reels. It shows that you do not need a high-tech kit to stay hydrated if you know how to use the landscape. This is the heart of self-reliance. It is a simple, gritty way to stay safe when you are out there on your own.
Key insights:
- Only use dry rocks to avoid the danger of them exploding in the fire.
- A one-minute rolling boil is the standard for making wilderness water safe.
- Improvised containers like logs can work if you do not have a metal pot.
3 Knots That Keep Your Tarp From Flying Away
Ever heard the phrase 'if you can't tie a knot, tie a lot'? It sounds funny, but in a survival situation, it is actually pretty bad advice. Messy tangles are a total nightmare to undo when you are cold or tired, and they usually fail right when the wind picks up. Instead, knowing a few essential bushcraft knots for securing an emergency tarp is what keeps you dry and safe. You want knots that hold tight under pressure but come apart easily when you are ready to move.
The Bowline is often called the 'King of Knots' for a reason. It creates a fixed loop at the end of a line that will not slip or bind, no matter how much tension you put on it. It is your perfect anchor. Then there is the Taut-Line Hitch, which is your go-to for adjustable tension. This knot lets you slide the hitch to tighten your lines and then locks firmly in place. It is a game-changer when your tarp starts to sag and you need to get things tight without untying everything.
When the temperature drops and your fingers get stiff, you will want the Evenk Hitch. It is perfect for cold, gloved hands because the movements are simple and do not require fine motor skills. The real magic is the quick-release feature. One tug on the tail and the whole thing falls away. This is vital for breaking camp fast. As the team at WoodsBound Outdoors often points out, your ability to manage your shelter quickly is a huge part of staying warm without a sleeping bag or standard gear.
The reality is that the way we learn these skills is changing. While old manuals are great, many beginners are turning to short-form survival reels and digital communities to see these techniques in motion. This shift toward micro-learning makes it much easier to build wilderness self-reliance without feeling overwhelmed. It is about getting the right information exactly when you need it, which can be the difference between a cold night and a safe one.
Key insights:
- Knots like the Evenk Hitch are specifically designed for use in harsh conditions where you have limited dexterity.
- Modern survival education is shifting toward visual, community-based platforms for faster skill acquisition.
- Reliable knots are a critical component of heat retention strategies when you lack standard sleeping gear.
The Evenk Hitch for Quick Setup
Imagine you are out in the woods and the temperature suddenly drops. Your fingers are stiff, and fumbling with complex knots is the last thing you want to do. This is where the Evenk hitch comes in handy. It is a favorite in beginner bushcraft circles because you can actually tie it while wearing thick gloves.
This knot secures an emergency tarp in seconds, which is vital when you are using limited gear to stay warm without a sleeping bag. When it is time to move, one quick tug on the tail releases the whole thing instantly. It is fast, reliable, and keeps things simple when every second counts.
The Wet Wood Challenge: Lighting a Fire in the Rain
Imagine the sky opens up while you are miles from your car. Everything is soaked, and your shivering starts to feel like a permanent state. This is where most people panic, but you do not have to. The secret to how to start a fire with wet wood in the rain isn't about magic; it's about looking past the surface. Even in a downpour, dry wood exists. You just have to find standing deadwood - trees that died but haven't fallen into the mud yet. Their bark acts like a raincoat for the wood inside. This changes everything.
Once you have a branch, the real work begins. You cannot just throw a damp log on a match and hope for the best. You need to reach the bone-dry core by making feather sticks. By shaving thin, curly ribbons into the wood without cutting them all the way off, you create a massive surface area that catches a flame fast. If you are lucky, you will find fatwood. These resin-soaked pine knots burn like a candle even when it is pouring. It is a total game-changer for survival scenarios when you are trying to figure out how to stay warm at night without a sleeping bag.
But wait, do not build your fire directly on the soggy ground. The mud will suck the heat right out of your tiny flames before they even get going. Instead, build a fire platform using a layer of green logs or flat stones. This keeps your kindling high and dry. It is the kind of practical, low-gear strategy that is becoming a hit in digital bushcraft communities. Groups on Facebook are now filled with beginners sharing these tricks because they actually work when your gear fails. It is about being smart and using what is around you rather than relying on a backpack full of tools.
To really beat the cold, you also need a heat reflector. Think of this as a simple wall of logs stacked right behind your fire. It does more than just block the wind; it bounces the warmth back toward your shelter like a mirror. While that fire is going, keep your next batch of wood tucked nearby. If you place it under your tarp or near the reflector, the heat will dry it out before you even need to use it. This simple loop ensures the fire stays hot and you stay dry until the sun comes back out.
Key insights:
- Standing deadwood is the most reliable source of dry material in a storm because the vertical position sheds water.
- Feather sticks increase the surface area of dry wood, allowing a small spark to ignite a larger branch.
- A fire platform prevents ground moisture from stealing the thermal energy needed to sustain a young flame.
- Heat reflectors can double the efficiency of a small fire by directing radiant heat back into your living space.
Creating a Heat Reflector
If you are figuring out how to stay warm at night without a sleeping bag, a fire alone is not enough. Most heat just vanishes into the air. You need a heat reflector. Picture a wall of logs stacked right behind your fire. This setup bounces warmth back toward your shelter instead of letting it escape. It makes a huge difference when you have limited gear and need to stay safe.
This wall also keeps your wood supply dry. By stacking spare logs near the reflector, the fire dries them out before you need them. Groups like WoodsBound Outdoors teach these methods because they focus on improvisation. It is all about using what is around you to stay warm when your equipment fails.
Key insights:
- A log wall acts like a mirror to redirect heat back into your sleeping area.
- Stacking wood behind the reflector uses ambient heat to dry damp fuel for later.
Frequently Asked Questions
Conclusion
So what is the big takeaway here? Survival scenarios are less about the fancy gear in your pack and more about the simple skills in your head. Whether you are building a debris bed to stay warm without a sleeping bag or using a shadow stick because you are lost hiking without a compass, the goal is the same: stay calm and use what is around you. Knowing how to purify water without a filter or tie a few solid bushcraft knots for your tarp gives you a massive advantage when things go sideways.
Your next move should be a fun one. Do not wait for a real emergency to try these out. Head to your backyard or a local park and practice starting a fire with wet wood or finding your directions using the sun. It is a lot more relaxing to learn these tricks when you have a warm house to go back to afterward. These skills become second nature once you have done them a few times.
At the end of the day, you are way more capable than you probably think. Gear can fail, but your ability to think and adapt stays with you. So get out there, keep learning, and stay safe. You have got this.
Send it to someone who should read it next.
About the author

Maya Bennett
Preparedness Coach & Survival Systems Editor
Builds practical checklists, kits, and preparedness routines that help beginners turn emergency planning into repeatable action.
View all articles