5 Outdoor Hacks That Work Better Than Your Expensive Survival Gear
Have you ever seen someone with fifty pounds of high-tech gadgets still struggle the second the weather turns? It is because the most important tool you have isn't in your...
Cole Mercer
Wilderness Guide & Navigation Specialist

5 Outdoor Hacks That Work Better Than Your Expensive Survival Gear
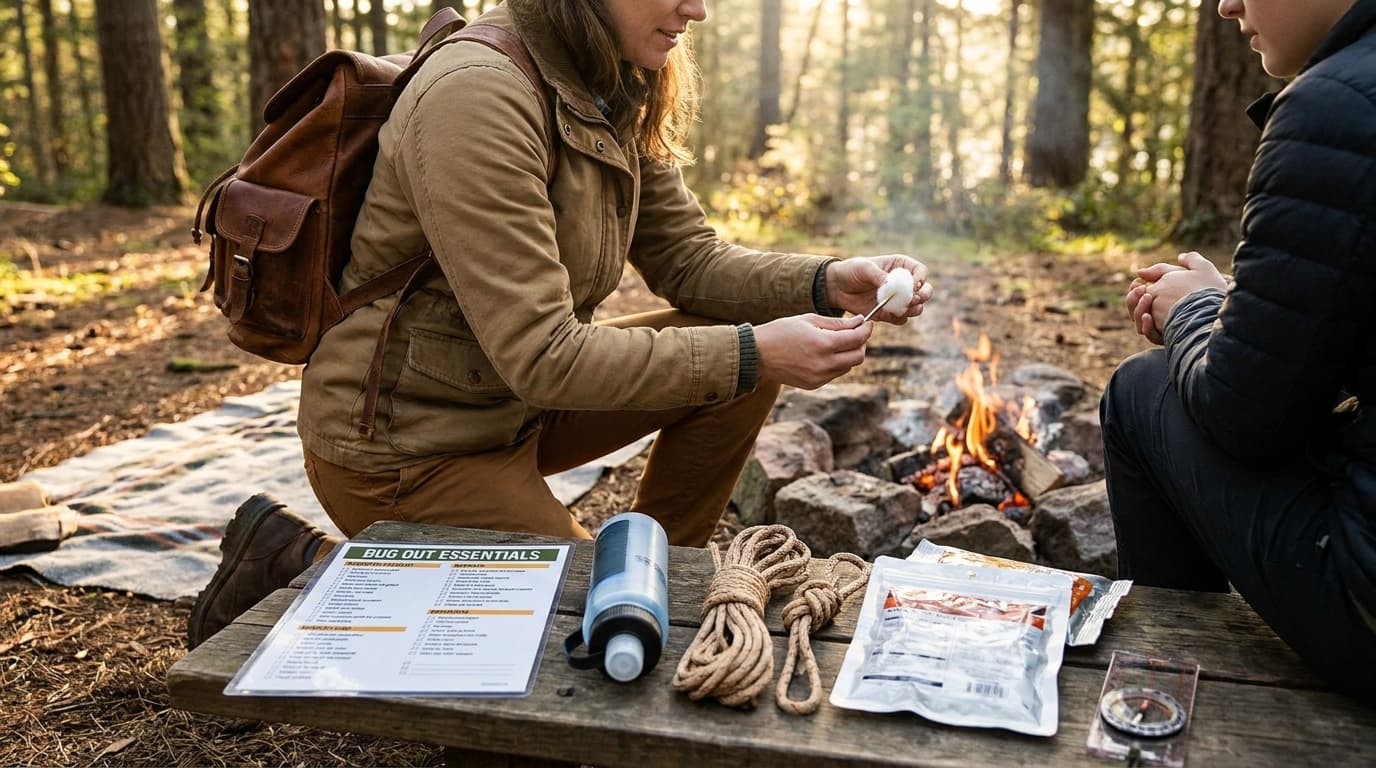
Have you ever seen someone with fifty pounds of high-tech gadgets still struggle the second the weather turns? It is because the most important tool you have isn't in your pack, but between your ears. While fancy gear is great, knowing a few reliable Outdoor Hacks & Tricks can keep you safe when batteries die. You don't need expensive gadgets to stay comfortable if you know how to use what the woods already provide.
We are going to look at why simple, field-tested methods often work better than pricey gear. You will learn survival knots for high winds and how to build a diy emergency water filter. We will also talk about how to find north without a compass and smart first aid shortcuts that save space, plus basic survival knife skills for beginners.
These skills are all about becoming more self-reliant so you can carry less weight and have more fun. Let's start with how to keep your gear grounded when the wind starts to howl.
Outdoor Hacks & Tricks: Smarter Ways to Stay Safe in the Wild
Have you ever noticed how the fanciest gadgets usually fail right when you're out in the wild? The truth is, the most reliable tool isn't in your backpack - it’s between your ears. We’re seeing a shift lately where hikers are ditching heavy tech for natural DIY skills. It feels better to handle the woods with just what’s around you.
Take water, for example. You can build a filter using sand and charcoal that gives you clean water in about 30 minutes. It’s the same with direction. If your phone dies, you can find North just by watching how shadows move. These tricks are real life-savers.
Specific knots keep your gear from flying away in high winds, and wayfinding skills are vital once the sun goes down. It’s about being prepared without the extra weight. What does this mean for you? It means you can stay safe by using your head instead of your wallet.
Key insights:
- DIY water filters using natural materials can produce clean water in just 30 minutes.
- Shadow patterns are a reliable way to find North without a compass.
- Field-tested knots are essential for securing gear during high-wind survival scenarios.
Keeping Your Gear Grounded When the Wind Howls
Ever woken up to the sound of your tent fly flapping like a trapped bird? It is a sinking feeling. You realize your go-to knots are slipping because they were not built for the constant, erratic tugging of a storm. Standard loops often fail in gusty conditions because they lack the mechanical security needed to handle shifting tension. To keep your gear grounded, you need knots that actually work harder as the wind gets stronger.
This is where the friction hitch becomes your best friend. Unlike a basic loop, a friction hitch is designed to bite down on the line the harder it is pulled. It is one of those field-tested knots that turns tension into an advantage. For the best results, use a static cord or a slightly textured rope rather than slick paracord, which can sometimes slide under extreme pressure. A common mistake is tying the hitch too loosely or using a rope that is too thick for the anchor. If you get it right, the wind does the work of tightening the setup for you.
Securing a tarp is a bit different because you have to worry about the fabric tearing under pressure. Instead of putting all the stress on one corner, try distributing the weight across multiple points. You can also use what is naturally around you. Sturdy roots or heavy rocks often make better anchors than metal stakes in soft or sandy soil. To save yourself a headache in the morning, always finish with a quick-release loop. It makes packing out easy, even if your fingers are cold. After all, nobody wants to spend an hour picking at frozen knots when it is time to head home.
Key insights:
- Friction hitches are superior in high winds because they self-tighten under load.
- Distributing tension across multiple tarp points prevents fabric tears during heavy gusts.
- Natural anchors like roots and rocks often provide more stability than standard tent stakes.
The Friction Hitch: Your Best Friend in a Storm
Imagine you’re huddled in your tent while the wind howls like a freight train. Most people rely on the flimsy plastic tensioners that come with their gear, but those often slip when things get nasty. This is where a friction hitch saves the day. These field-tested knots are designed to grip tighter as the wind pulls harder against your fly. It’s a simple mechanical trick that keeps your shelter grounded even when expensive hardware fails.
To get the best results, you need a rope with some bite. Standard paracord works, but using a slightly thinner cord for the hitch creates much better friction. A common mistake is using two ropes of the same thickness, which causes the knot to slide right off. Also, don't leave any slack. If the knot isn't tight from the start, a sudden gust can jerk your stakes right out of the ground.
Key insights:
- Friction hitches act as a self-adjusting safety belt for your campsite by working with the wind instead of fighting it.
- Using mismatched rope diameters is the secret to ensuring the hitch locks onto the main line during a storm.
Securing Your Tarp Without Tearing the Fabric
Ever had a gust of wind rip a grommet right out of your favorite tarp? It is a total mood killer. Expensive gear fails if you do not handle the physics of high winds correctly. To keep your shelter intact, stop focusing on a single point of tension. Instead, distribute the pressure across multiple spots. Think of it like a team lift; more points mean less chance of a tear in the fabric.
When things get gusty, specific field-tested knots are the only way to prevent losing your gear. You do not always need fancy stakes, either. Natural anchors like heavy rocks or sturdy roots provide a solid base that won't budge like a cheap metal peg might. It is about working with the environment rather than fighting it.
Also, use quick-release loops for easy morning pack-outs. Why struggle with frozen knots when you can just pull a tail and be done? These mechanical shortcuts save serious time when you are tired and ready for breakfast before hitting the next trail.
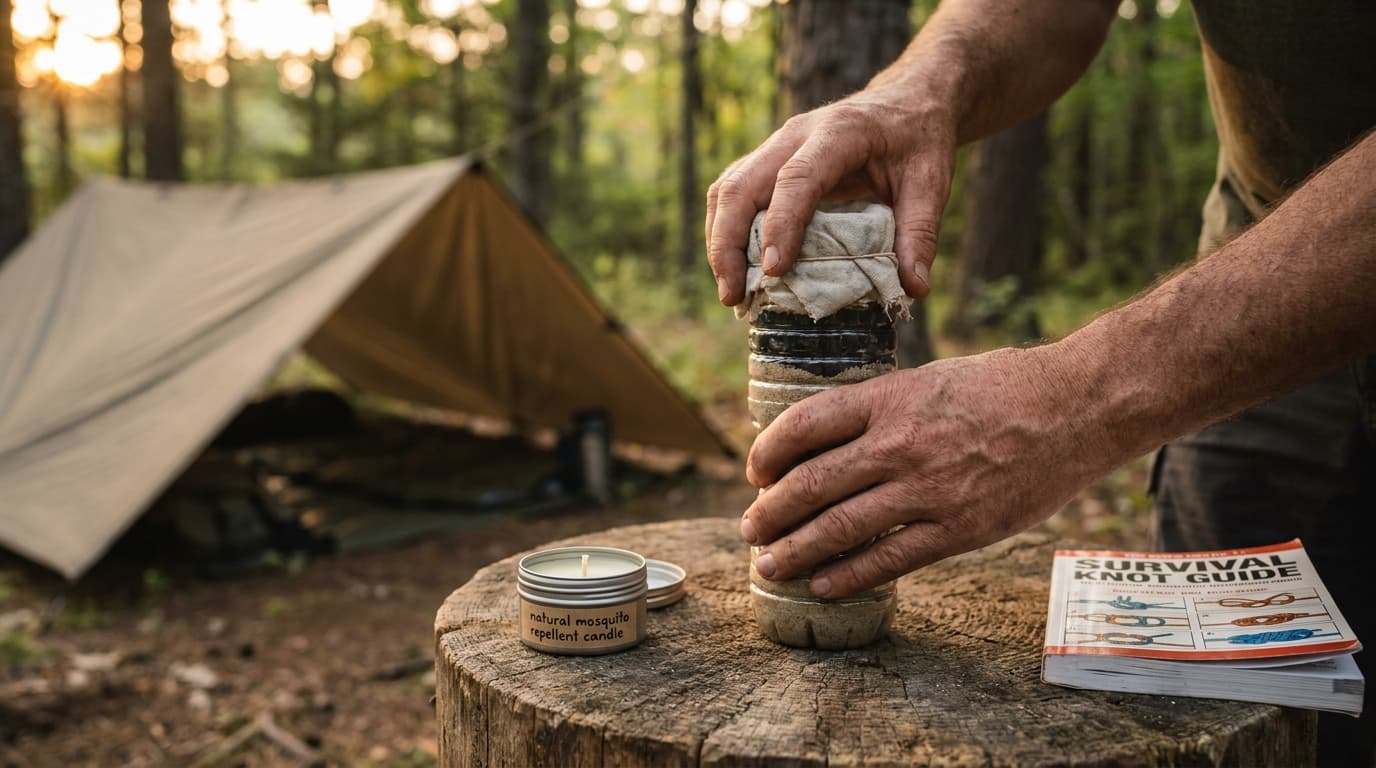
Clean Water in 30 Minutes Using Just the Woods
You have likely seen those survival videos where someone turns a muddy puddle into clear water in minutes. It looks like a magic trick, but it is actually a grounded reality. Recent findings show that a basic DIY filter can produce usable water in about 30 minutes. This is great news for any hiker who has ever run out of supplies miles from the trailhead. It is a quick result hack that fills a big gap when your expensive gear is not around to help you out.
Think of this as a natural defense system. Using simple materials like charcoal and sand is not just for show. It is a proven way to strip away dirt and some of the nastier stuff hiding in the water. While this method is perfect for getting the grit out, you should still keep your expectations in check. This is about emergency hydration, not making a fancy drink. You are basically building a tiny version of how the earth filters its own water, which is pretty cool when you think about it.
To build the stack, you will need a container like a plastic bottle or even a cone made of bark. The secret is all in the layering. You want to put your crushed charcoal at the very bottom, then a layer of sand, and finally some gravel on top. This creates a vertical filter where the water hits the biggest pieces of debris first. The gravel catches the leaves and bugs, while the sand and charcoal handle the tiny particles that you definitely do not want to swallow. Just make sure your charcoal is thoroughly crushed to increase the surface area.
Getting the flow speed right is the most important part of the process. If the water rushes through too fast, it will not be clean. If it is too slow, you will be waiting until dark. You want a steady drip that gives the charcoal enough time to do its job. It is a basic mechanical process, but it requires a bit of patience to make sure you are not just drinking thinner mud. This simple skill can be a total life saver when you are out in the wild and need a win.
Key insights:
- A DIY filter using sand and charcoal can produce usable water in about 30 minutes.
- The vertical stack order is critical with gravel on top, sand in the middle, and charcoal at the bottom.
- Flow speed determines the quality of filtration because the water needs time to interact with the media.
- Natural materials like bark or plastic bottles serve as effective containers for emergency filtration stacks.
Building the Vertical Filter Stack
Imagine you’re deep in the woods and your high-tech filter fails. It’s a stressful spot, but you can build a reliable replacement using a discarded plastic bottle or even a cone made of bark. The goal is to create a vertical stack that mimics how the earth naturally cleans water. By layering gravel, sand, and crushed charcoal, you are building a mechanical trap that catches debris and sediment as the water moves through.
The order of these layers is everything. You want the coarse gravel at the top to catch the big stuff, while the fine sand and charcoal do the heavy lifting below. Here’s the secret: don’t let the water just rush through. If it moves too fast, the layers won't have time to work. You need a slow, steady drip. This patient process can produce clear water in about 30 minutes. When you see that first clear drop hit your cup, you’ll realize nature’s shortcuts are often just as effective as the gear you bought at the store.
Key insights:
- Layering materials from coarsest to finest ensures the most efficient sediment removal.
- Crushed charcoal is essential for improving water clarity and removing certain impurities.
- A 30-minute filtration cycle is the standard for producing clear water with natural materials.
Lost Your Compass? Let the Sun Point the Way
Ever had that sinking feeling when your phone screen stays black in the middle of the woods? It happens more than we like to admit. We rely so much on GPS, but batteries are fickle things that fail exactly when you need them. The sun, however, is a permanent fixture. Understanding how it moves across the horizon isn't just a neat party trick; it's a life-saving skill. Backpacker Magazine notes that these wayfinding capabilities are especially vital when darkness starts to fall and you need to find your bearings before the light disappears completely.
Shadows are more than just dark spots on the ground. They are nature's own directional indicators. By tracking how a shadow moves, you can find North with surprising accuracy without ever touching a compass. This works because the sun follows a predictable path. While high-tech gear can break or lose signal, a shadow pattern is always reliable. It is a low-tech hack that often outperforms the expensive survival tools sitting in your pack.
To use the shadow-stick method, find a straight stick and a clear patch of level ground. Poke the stick into the earth so it stands upright and mark the very tip of the shadow it casts with a small stone. Now, you wait. Give it about fifteen minutes. As the sun shifts, that shadow will creep across the dirt. Mark the new tip of the shadow with a second stone. This movement represents the sun's journey across the sky.
Draw a straight line between those two marks to create your East-West line. The first mark is always West and the second is East. If you stand with the first mark on your left and the second on your right, you are facing North. It is that simple. Just keep in mind that your latitude and the time of day might change the length of the shadow, but the directional logic remains the same. You are now navigating the same way explorers did for centuries.
Key insights:
- Shadow patterns provide a reliable directional backup when electronic GPS devices fail.
- The first mark in a shadow-stick sequence always indicates West, regardless of your hemisphere.
- Wayfinding is categorized as a life-saving skill, particularly in low-light survival scenarios.
The Shadow-Stick Method for Finding North
Ever find yourself stuck because your GPS died? It happens. But if the sun is out, you have a perfect guide right at your feet. Finding north without a compass is a life-saving skill for when your gear fails. It is one of those wayfinding tricks that matters most when you are tired and just want to get back to camp.
Just poke a straight stick into the ground and mark where the shadow tip lands with a stone. Wait fifteen minutes for the sun to move and mark the new spot. Draw a line between the two stones to create an East-West path. The first mark is West and the second is East. It is a simple process that uses natural light indicators to keep you on track.
To find North, stand with your left foot on the first mark and your right on the second. You are now facing the right way. While your specific latitude can shift the angle slightly, this method gets you moving in the right direction quickly. Why rely on expensive batteries when a simple stick does the job for free?
Key insights:
- The first shadow mark always represents West because the sun rises in the East.
- Waiting at least fifteen minutes ensures the sun has moved enough to give an accurate reading.
- This method works anywhere in the world where the sun casts a visible shadow.
First Aid Shortcuts That Save Space and Time
Think about the last time you lugged a heavy first aid kit up a steep trail. Was it worth the weight? Probably not. You can actually build a micro-kit that handles almost any common hiking injury without the bulk. This works because of the Rule of Three. In the wild, you prioritize what keeps you alive and moving. Focusing on small, high-impact items lets you move faster and stay safer.
But wait, there is more to your pack than you think. Multi-use items are your best friends. For example, imagine you need a sling for a hurt arm. Instead of a specialized medical wrap, just use the t-shirt you are already wearing. It is about seeing your gear in a new way. This fits the trend of using natural materials, like building a DIY water filter that can produce clean water in about 30 minutes instead of relying on expensive pumps.
Duct tape and safety pins are the real stars here. If you feel a blister starting, a bit of tape is better than any fancy bandage because it stays put through sweat and dirt. You can even use it to stabilize a sprain in a hurry. Safety pins can close a deep cut or fix a gear tear when the wind picks up. It is about being fast and effective with what you have on hand.
The interesting part is how these small tricks add up. When you stop worrying about having the perfect gadget, you start noticing the world around you. You might find north by watching shadow patterns or learn to tie a knot that keeps your tent from flying away. These shortcuts aren't just about saving space. They are about building the confidence to handle whatever the trail throws your way.
Key insights:
- Prioritize multi-use items like duct tape and clothing to replace heavy medical supplies.
- The Rule of Three helps you focus on what really matters during a trail emergency.
- Simple tools often outperform expensive survival gear in real-world conditions.
Duct Tape and Safety Pins: The Trail Surgeon's Best Tools
Ever feel that stinging hot spot on your heel three miles from the car? That is your cue to act fast. A simple strip of duct tape over the area stops a blister before it starts, acting as a tough second skin. It is also your best bet for gear emergencies, like a flapping boot sole or a torn tent mesh.
But what if the trouble is a bit bigger? If someone takes a tumble and hurts their arm, you can pin the sleeve of a t-shirt to the chest area to make a reliable sling. It is quick, dirty, and effective. For a twisted ankle, wrap tape in a figure-eight pattern over the sock for immediate support.
These quick-fix shortcuts keep you moving when expensive kits are out of reach. In the wild, your ability to adapt with basic tools often beats having the most expensive gear in your pack. It's all about using what you have to get back to safety.
Key insights:
- Duct tape provides better friction protection for blisters than most standard bandages.
- Safety pins and a spare shirt create a functional medical sling in under a minute.
- Taping over a sock provides instant ankle stability for minor trail sprains.
Survival Knife Skills for People Who Aren't Rambo
You probably pictured yourself hacking through a jungle the moment you bought a survival knife. But real survival is less about being an action hero and more about not accidentally cutting your own thumb off. Before you even open the blade, you need to establish your blood circle. This is just a simple way of saying you should clear a space around you where your arm and knife can reach without hitting anyone or anything. If you can't spin in a circle without touching a branch or a buddy, you are too close. Keep your grip firm but relaxed, like you are holding a heavy hammer.
Here is a bit of counterintuitive logic. A razor-sharp knife is actually much safer than a dull one. When your blade is blunt, you have to push harder to get through the wood. That extra pressure makes the knife prone to slipping, and that is how most accidents happen in the woods. A sharp edge bites into the material immediately, giving you way more control. Once you have a good edge, start with the basic push cut. Always cut away from your body and keep your fingers behind the sharp bit. It sounds simple because it is, but it is the foundation for every other skill you will use.
Sometimes you need to turn a big log into small firewood but you do not have an axe. This is where batoning comes in handy. You place your knife edge against the wood and use a separate sturdy branch to tap the spine of the blade. It allows you to split logs safely by using the knife as a wedge rather than a swinging tool. This protects your hands and keeps the process controlled. Just be careful not to hit the handle or you might snap your tool. It is a great way to access the dry wood hidden inside a damp log after a storm.
If it is raining and everything is soaked, look for a dry piece of wood and start feathering. This means shaving thin, curly ribbons into the side of a stick without cutting them all the way off. These curls catch sparks way better than a solid chunk of wood ever could. Think of it like creating your own natural tinder. While you are waiting for your DIY water filter to produce clean water, which usually takes about 30 minutes, you can spend that time prepping a perfect fire. It is these small, methodical steps that actually keep you safe when the sun goes down.
Remember that wayfinding is also a life-saving skill when darkness falls, so getting that fire going early gives you a fixed point of light to work around. You can even use the shadow-based method to find north before the sun disappears, helping you stay oriented without a compass. Survival is really just a series of these rapid-result hacks working together. Using a knife to prep wood is just as important as knowing how to tie a field-tested knot to keep your gear from blowing away in high winds. When you combine these skills, you rely less on expensive gadgets and more on your own capability.
Key insights:
- A sharp blade is safer because it requires less force and is less likely to slip.
- The blood circle is a vital safety zone that prevents accidents involving bystanders.
- Batoning allows for safe wood splitting without the need for a heavy axe.
- Feathering creates high-surface-area tinder that can catch fire even in damp conditions.
- Effective survival combines multiple quick hacks, like knife skills and natural navigation, to build a safer camp.
Batoning and Feathering for the Perfect Fire
Ever found yourself in the woods with damp logs and no axe? Most people give up on a fire, but you just need to get to the dry heart of the wood. Batoning is the trick. Place your knife on the log and use a sturdy branch to tap it through the grain. It is often safer than swinging a hatchet when you are tired. Just watch your blade. Avoid hitting knots or twisting the metal, as a broken knife is a heavy price to pay for a few sparks.
Once you have dry wood, you need it to catch. Shave thin, curly ribbons into the stick without cutting them off to create a feather stick. These curls catch a spark even in a drizzle. While some outdoor hacks like DIY water filters take thirty minutes to work, these knife skills offer immediate results. It is about using basic tools to stay warm before the light fades. What good is a fancy kit if you cannot handle the basics?
Summary: Building Your Mental Toolkit
The best tool you own isn't in your pack because it is between your ears. High-tech gadgets break or die, but knowing how to find north using a simple shadow or securing gear with field-tested knots stays with you forever. These skills turn a crisis into a story. For example, being able to produce clean water in 30 minutes using natural materials is a game changer when a filter fails.
But here is the thing: don't wait for a storm to try these out. Take these tricks to your backyard first. Practice those knots and wayfinding skills while the stakes are low and the coffee is still hot. It is much easier to learn how to handle the dark when you aren't actually lost in it.
Real preparedness isn't about your receipt from the gear shop. It is about the confidence of knowing you can handle the wild with your hands and some common sense. Gear is fine, but your mental toolkit is what actually brings you home. So, are you just geared up, or are you actually ready?
Frequently Asked Questions
Conclusion
So where does this leave your gear bag? Probably a few pounds lighter and a lot more reliable. When you realize that a handful of charcoal and some sand can clean your water, or that a simple stick can find north, the woods stop feeling like a mystery and start feeling like a toolbox. It is about trusting your own hands more than a battery-powered gadget.
These outdoor hacks and tricks work because they rely on logic rather than electronics. Whether you are tying a better hitch for high winds or using duct tape to fix a trail injury, you are building a mental toolkit that never runs out of power. It is a shift from just buying stuff to actually knowing how to use what is around you.
Your next move is simple. Take these skills to your local park or backyard before your next big trip. Practice feathering a stick or marking shadows while the stakes are low and the snacks are nearby. The best survival tool is not the one you bought for a hundred dollars. It is the one you practiced until it became second nature. Now go out there and show those expensive gadgets how it is done.
Send it to someone who should read it next.
About the author

Cole Mercer
Wilderness Guide & Navigation Specialist
Covers map reading, route planning, land navigation, and lost-person response with a focus on staying calm and moving smart outdoors.
View all articles